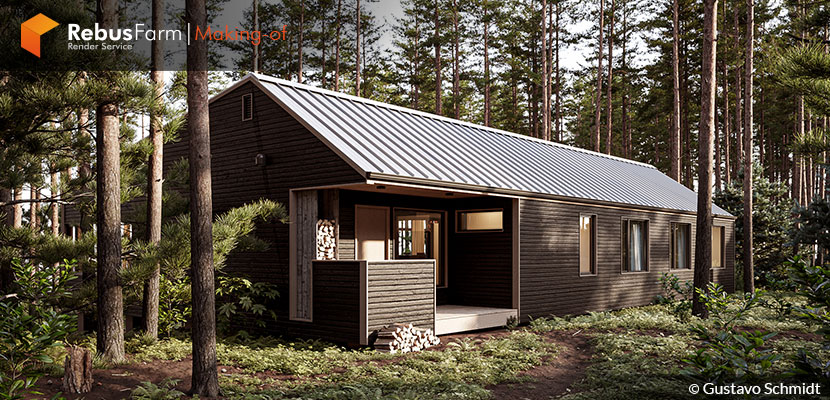
When you're looking for some fresh air in between typical commercial projects, it's quite interesting to take a break and select your favorite topic to develop your skills. Gustavo Esser Schmidt, a Brazilian 3D artist, drives us to his own moments of experiments in a coniferous forest!
About me.
Hey 3D community,
Before introducing you to the making-of article for the "Lockeport House in the forest" project, I would like to thank Rebusfarm and VWArtClub teams for the opportunity to share my work. Thank you!
My name is Gustavo Esser Schmidt and I'm a 3D artist from Brazil. I had my first contact with 3DS Max in college and I completely fell in love with it. After graduating in Multimedia Production, I decided to take an architectural visualization course and co-founded StudioHaus. After 6 years of working in the industry, I decided to take a break and go to Australia to study, which opened my horizons and strongly revived my love for Archviz. Since 2019 I have been back home, working with clients around the world, continuing to learn and develop myself as an artist day after day.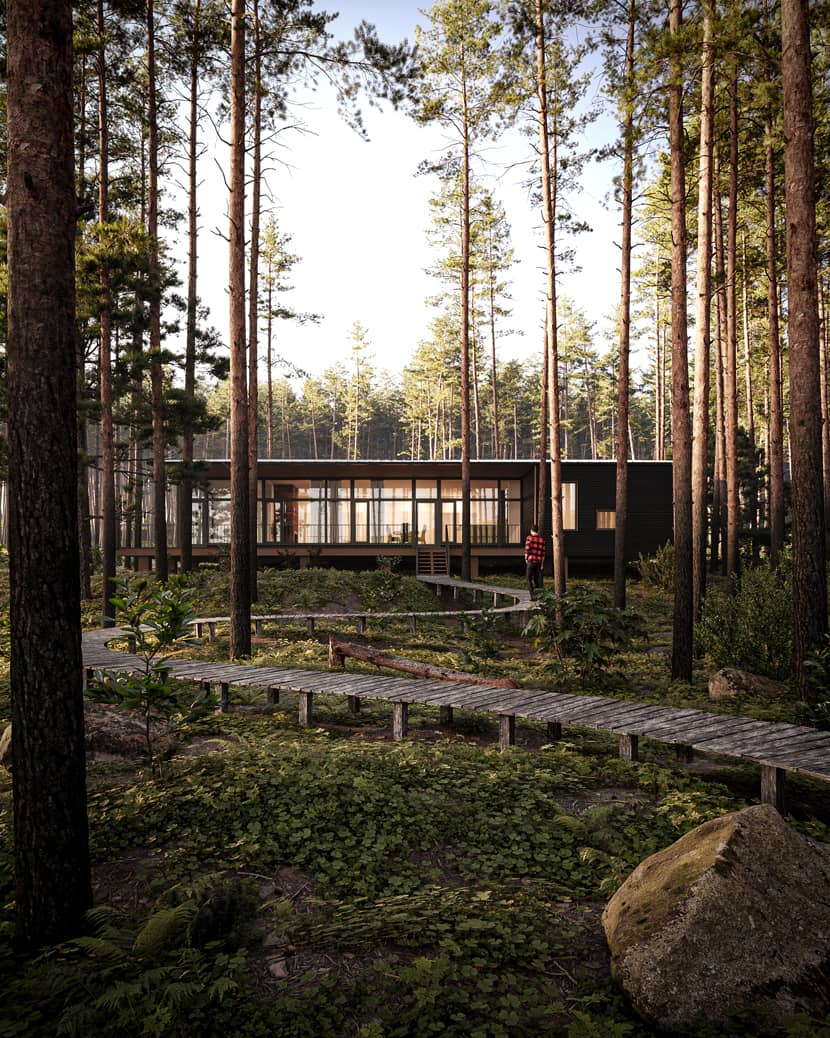
Software Used.
I used 3DS Max for modeling, Corona for rendering, Forestpack for scattering, HDRI Haven for HDRIs, Megascans for textures and models, and Photoshop for post-production.
About The Project.
This was a project I wanted to do for a long time. The vast majority of projects I work on in my studio and outside of collaboration with other studios are single-family and multi-family new builds and for that reason, I wanted to do something different because I really like nature and coniferous forests, so I ended up choosing this theme for my project.
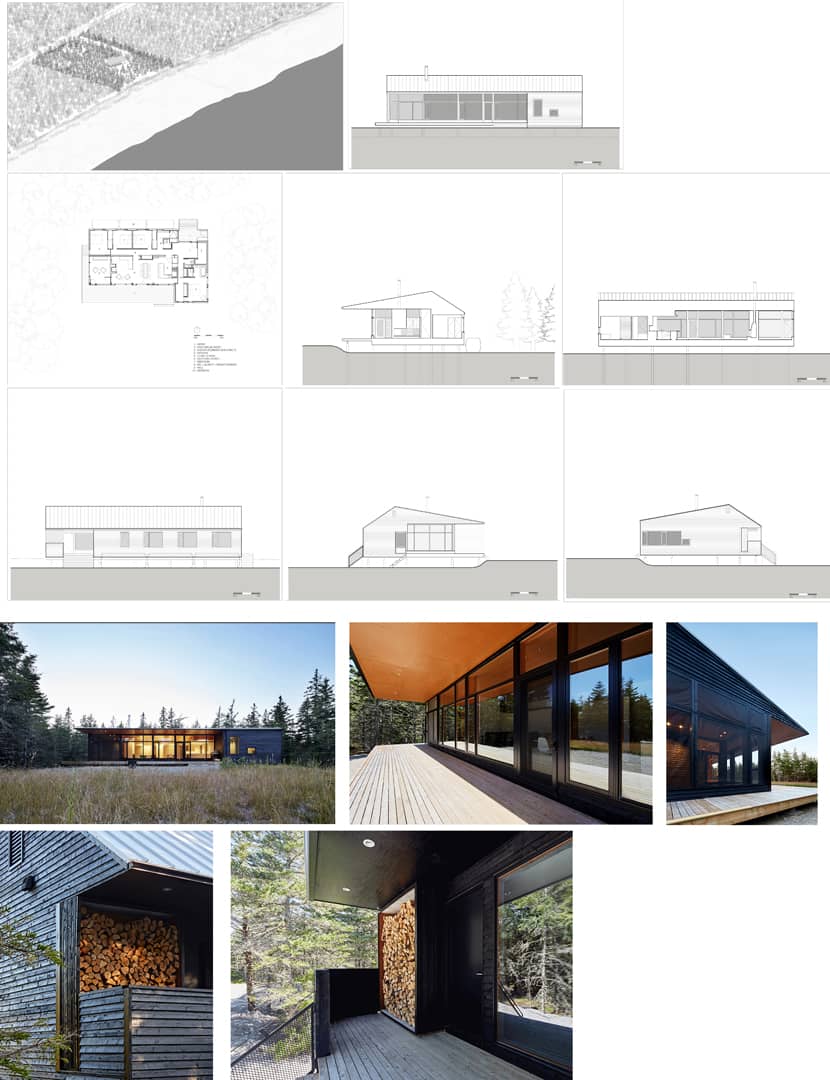
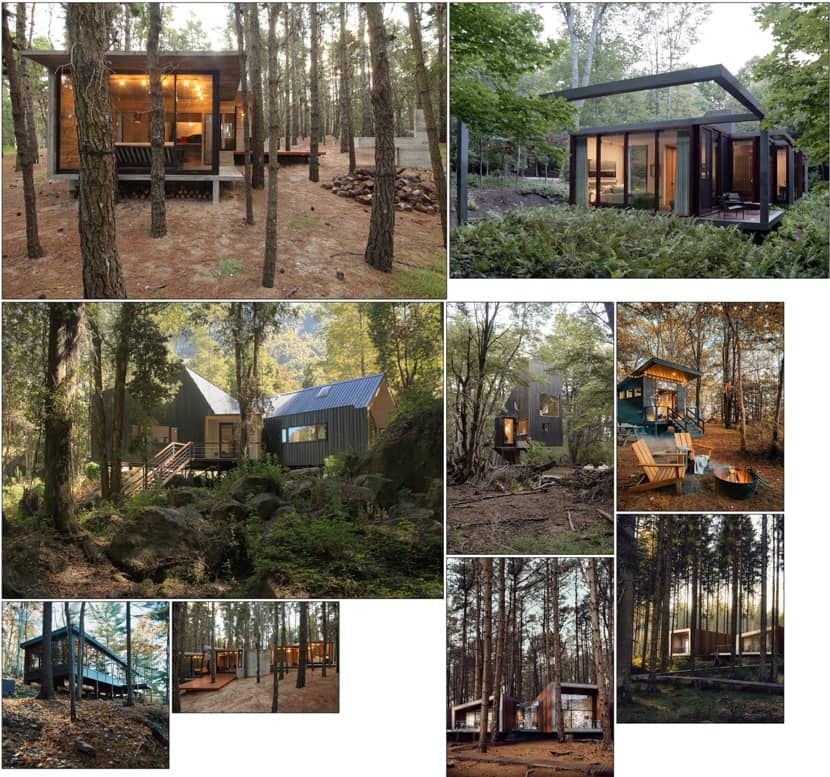
First, I went looking for a house project that could match the scenario. That's how I found Lockeport Beach House by Nova Tayona Architects. The second step was to look for references to the atmosphere and mood that I would like to convey through the images. Original project and photos of the Lockeport Beach House - Nova Tayona Architects:
Concept.
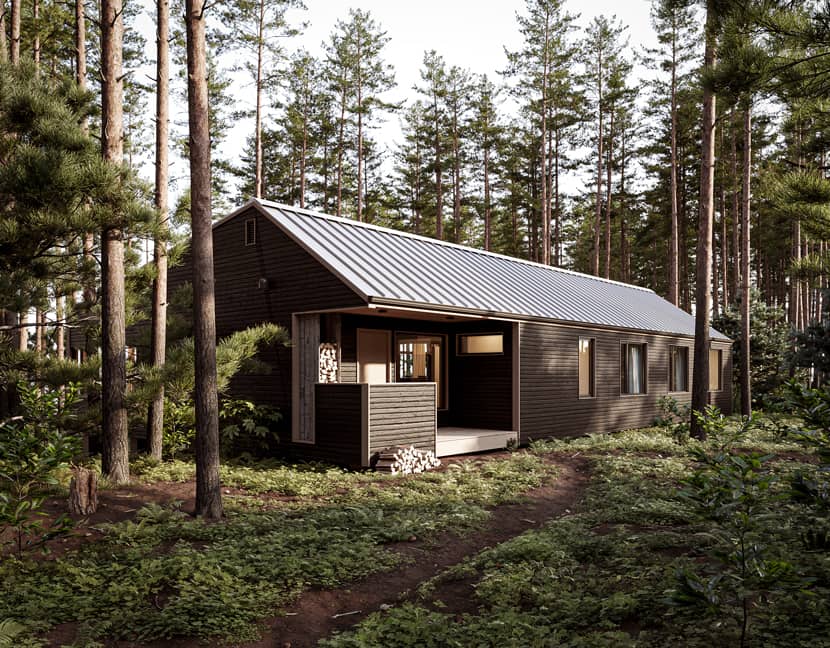
The main idea was to build a scene with a modern wooden house, surrounded by conifers trees, and lots of greenery. I wanted to create a scene with very detailed and realistic vegetation that could transmit a unique mood into the woods.
References.
Modeling.
The modeling of this project was very simple, the house was made with the native tools of 3DS Max, except for the roof I used a floor generator. I created the land area with a plan with few subdivisions and added others to achieve the expected result. Lastly, I added a turbosmooth and used some displacement maps to give small bumps on the terrain.
The path to the house was made with a script called PEN Clone that duplicates an object along the spline. For this, I modeled a box and applied a texture from Megascans with a CoronaUvwRandomizer so that the mapping was different in each plank.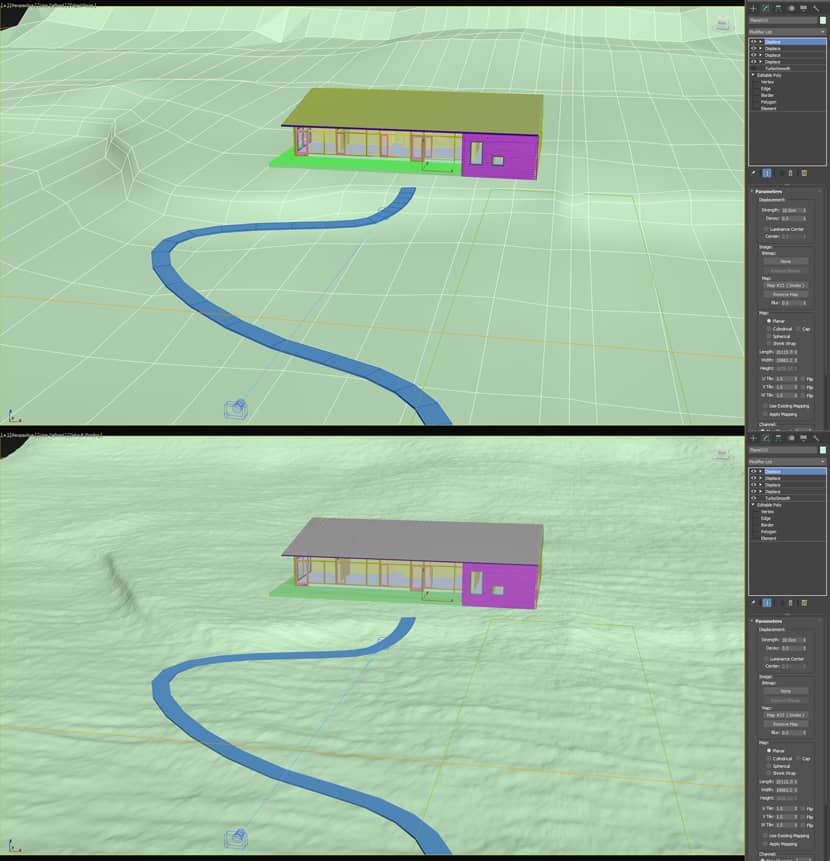
CLICK TO ENLARGE THE IMAGE.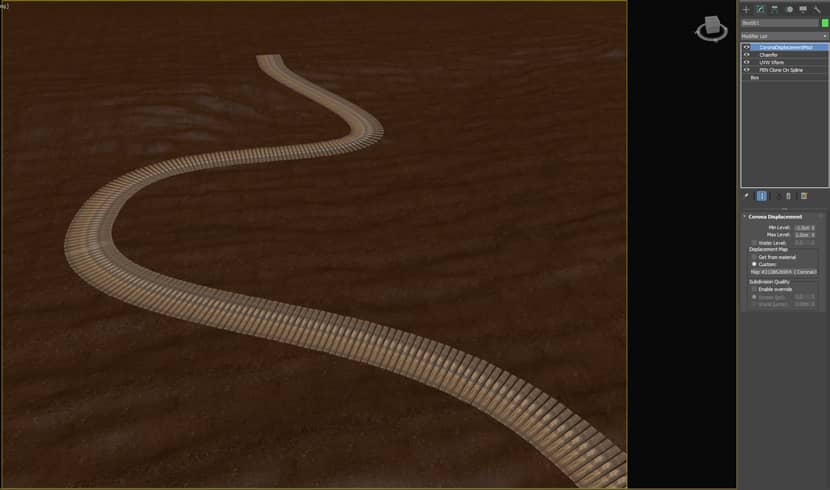
CLICK TO ENLARGE THE IMAGE.
Lighting.
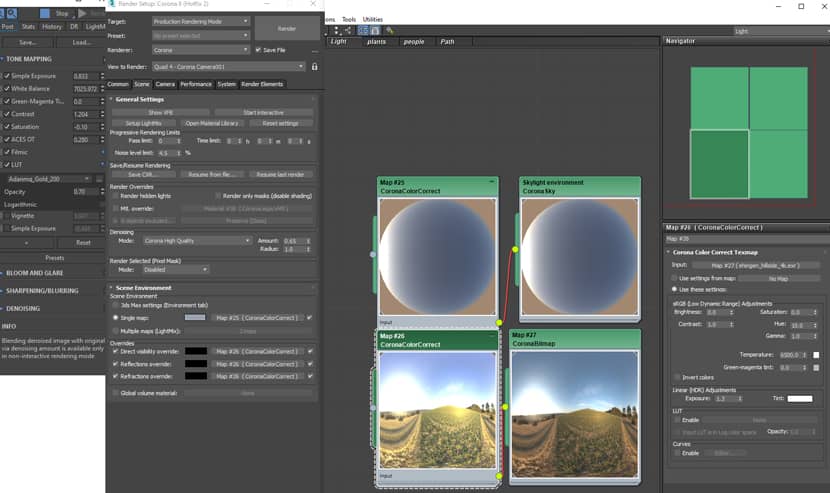
The idea was to have a dense forest with points of light between the trees and for that, I used a Corona Sun and Sky to have greater control of the light direction. I also turned on the volume effect to generate a little haze in the background. For the background, I ended up using an HDRI in direct visibility as I wasn't getting a gradient with the corona sky.
Textures & Assets.
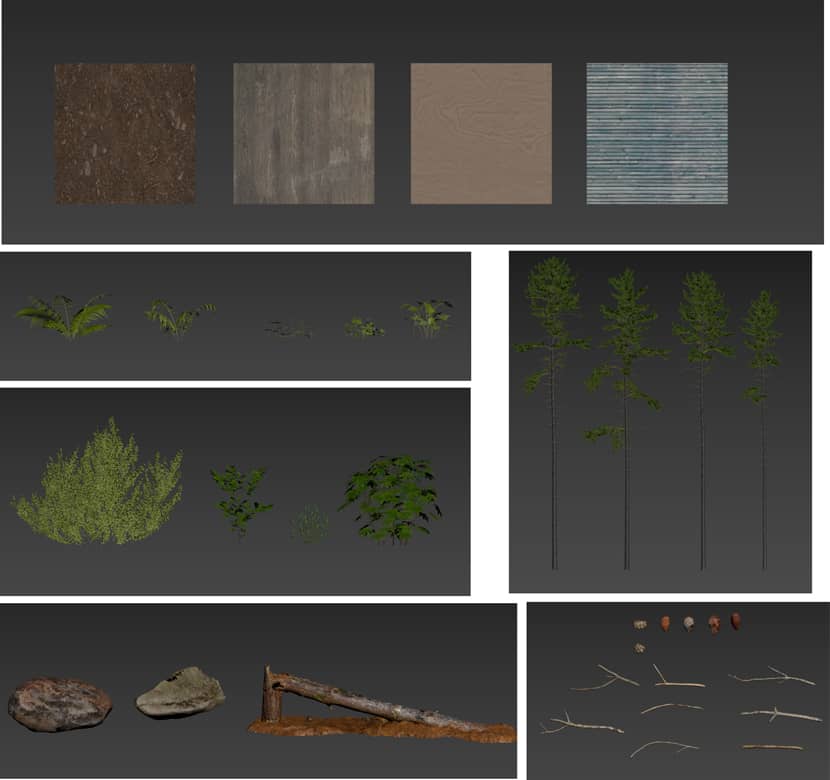
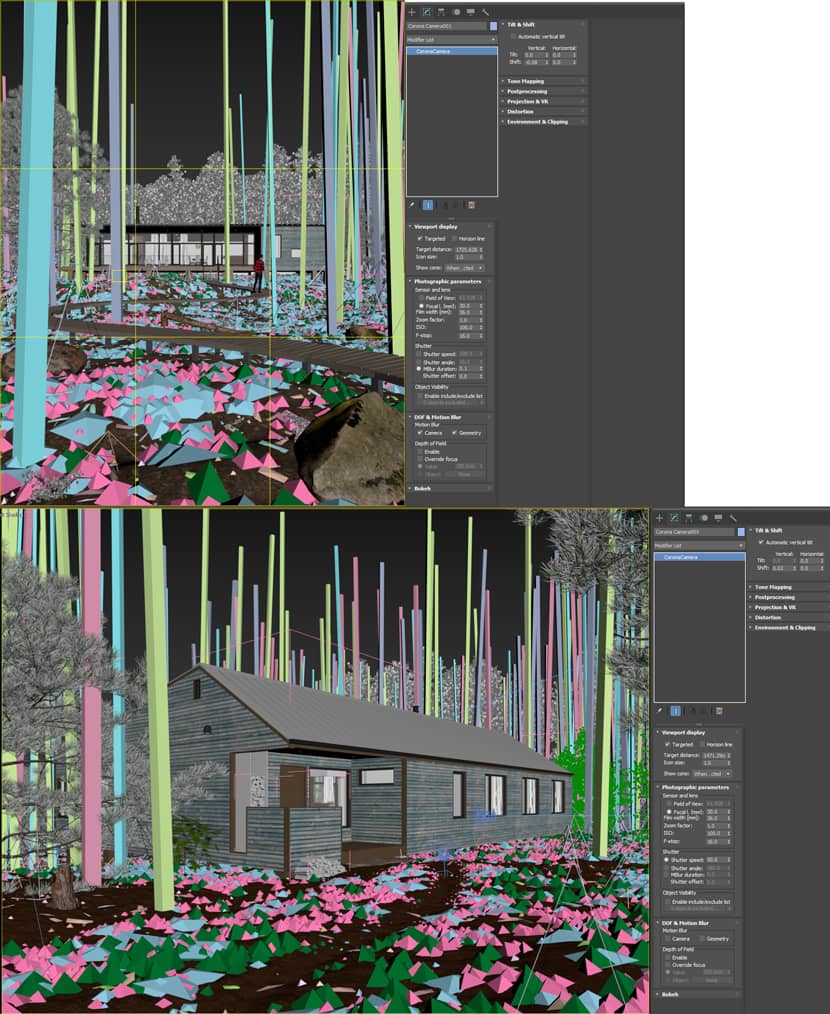
Most of the textures I used in this project are from Megascans, with only minor color correction modifications. For the ground covering I used vegetation from Megascans and for the bigger bushes, I used models from Maxtree. The pine trees were downloaded from 3dsky. To add a little more detail I added some rocks, logs, branches, and pine cones from Megascans. All assets were distributed with Forestpack.
Composition & Camera.
I always try to frame my images with super realistic assets in the first plane. I believe it helps to make the image more realistic and interesting. For the main image, I moved one of the trees closer and added a rock on the other side. To give the image a bit of storytelling and guide our eye to the middle of the image I added a man walking along a path that leads to the house.
For the camera, I always try to use a lens closer to 35mm as it doesn’t give much distortion and it remains possible to see closer objects.
Post-Production & Final Image.
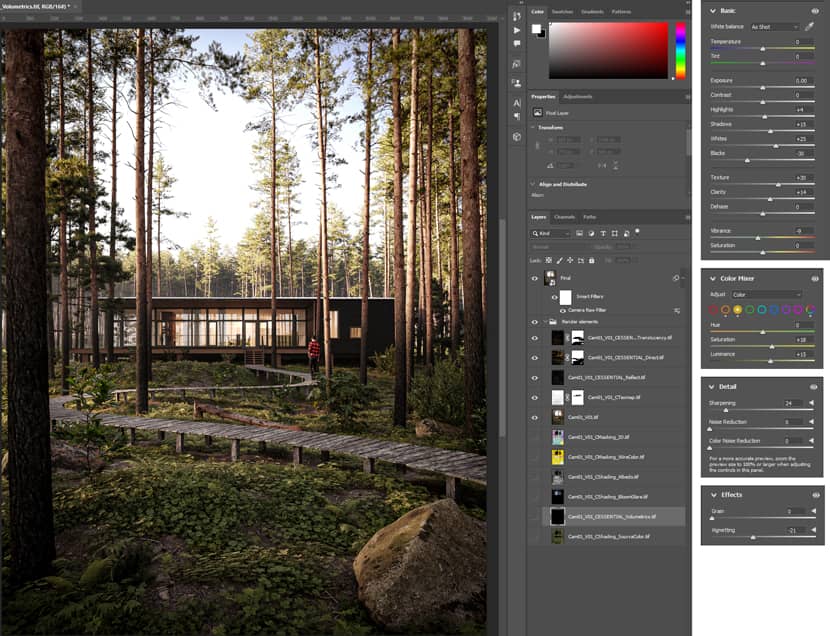
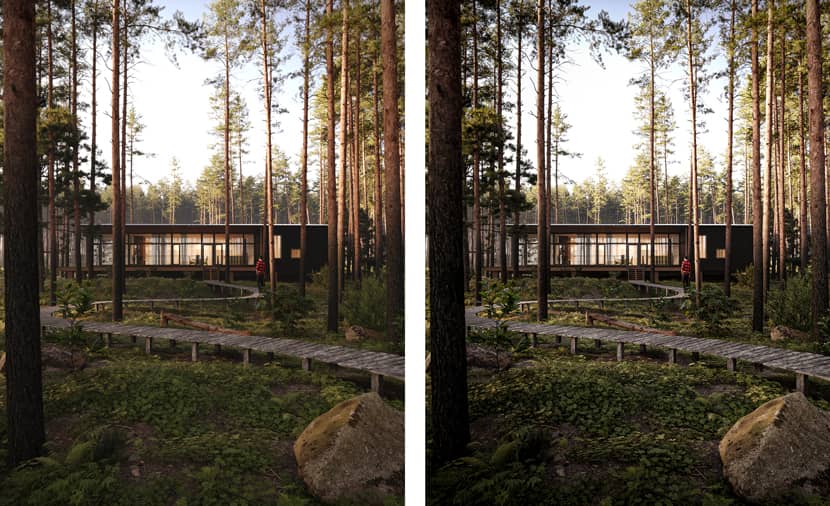
My post-production process on the images works as follows:
First I always try to make the render as complete as possible with the Tone Mapping tools. After adjusting the tone mapping, I always like to add render elements as well. Then I load everything in Photoshop to see if any of them can give me any more interesting details. After applying the render elements I convert the image into Smart Object to use the Camera Raw Filter and in it, I make the last corrections of lights, sharpness, and colors.
Conclusion.
And that's the end. I really hope the information in this article can be helpful, and if you have any questions, please contact me via the links below! Thank you VWArtclub and RebusFarm teams once again for this amazing opportunity!
Sincerely,
Gustavo Esser Schmidt.
Check more of Gustavo's work on these channels:
Want to share your work with our community too?
Contact us at 该邮件地址已受到反垃圾邮件插件保护。要显示它需要在浏览器中启用 JavaScript。 and tell us about your favorite project.

