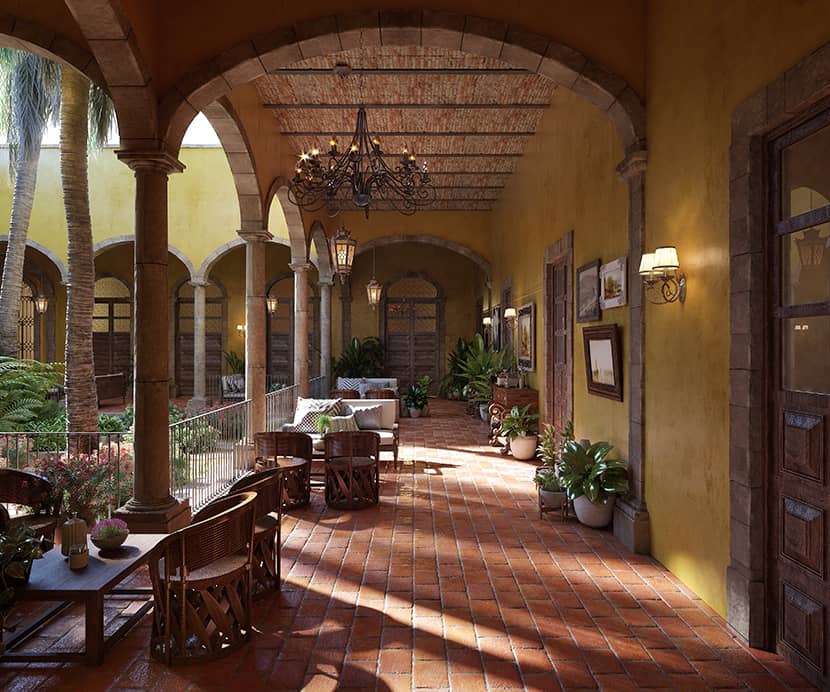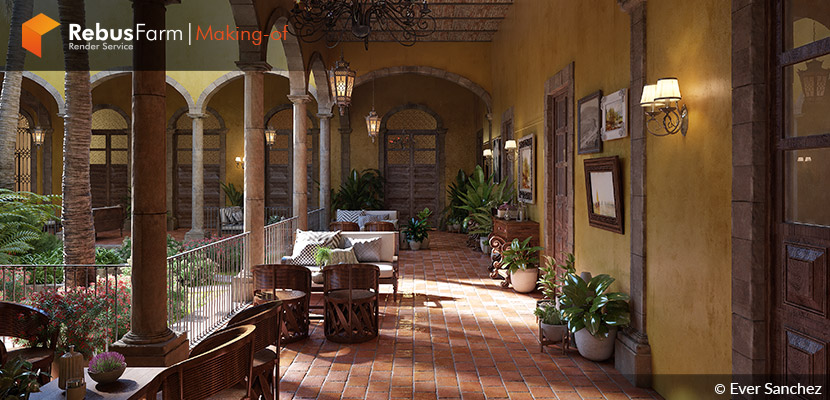
The authentic essence of an old hacienda combined with modern comfort elements was the creators' target for this project. Everardo Sanchez, a Mexican architect and 3D artist drives us into his working process while working on commercial projects. Enjoy!
About Me.
Hello everyone,
I am very grateful to RebusFarm and VWArtclub for the opportunity and the space to show my work process for this project, as well as the enormous effort they have made to promote professionals in the AchViz industry for many years.
My name is Everardo Sanchez, I am an architect who graduated from the Universidad del Valle de Mexico in 2012, but my passion for 3D art and design dates back to years before when I discovered 3DS Max and V-Ray software in its first versions. Since then, I haven’t stopped searching for the best way to create and represent my own commissioned projects using all the tools I have at my disposal.
Software Used.
Autocad was used for the architectural project, 3ds Max for modeling, and plugins such as AvizTools, Floor generator, Multiscatter, Polydamage, and V-Ray 4.0 for materials, lighting & rendering.
About The Project.
For this project, I was commissioned by a local construction firm that needed the conceptual project for the restoration of an old hacienda in the state of Jalisco, Mexico.
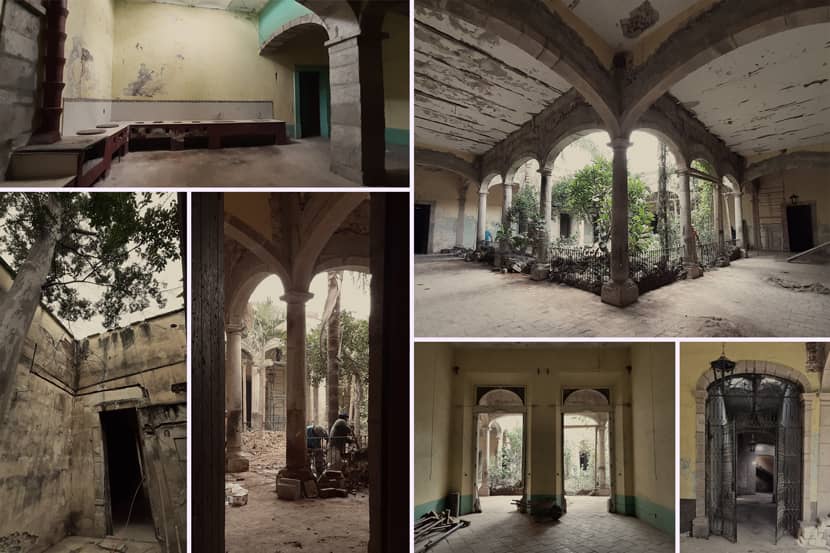
The state of Jalisco is known worldwide for being the home and "designation of origin" of Tequila, as well as the cultural center of much of Mexican culture. Below short presentation of this beautiful place:
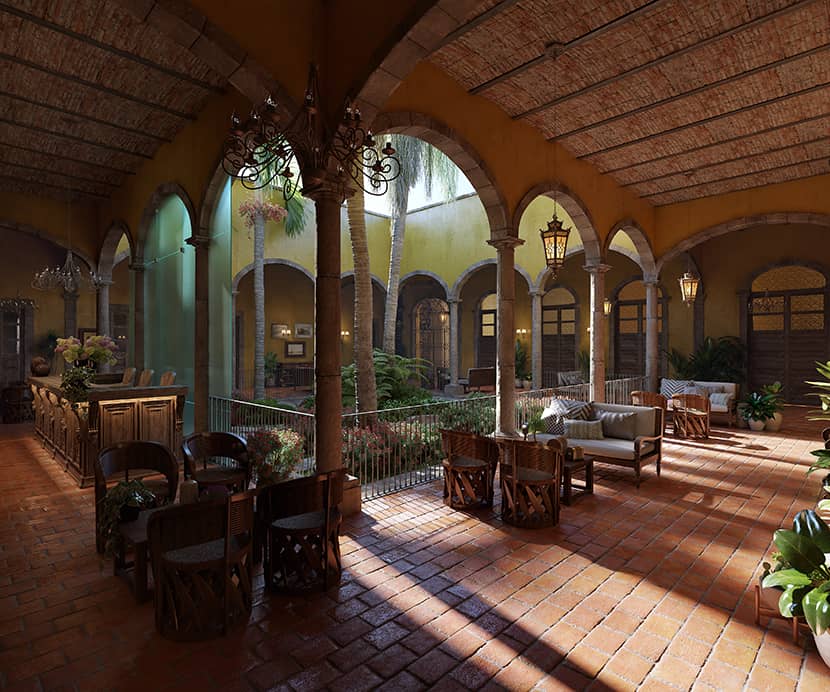
Haciendas in Mexico date back to Spanish colonial times as far back as the 17th century, built as housing and industrial centers for plantations, factories, or mining. Today these haciendas have lost their original function and many have been abandoned or are in the process of being restored. The current project proposes transforming an old hacienda into a boutique hotel and restaurant, respecting the existing structure and building but giving it a touch of comfort suitable for tourism in our times.
Modeling & Texturing.
The first stage was the precise modeling of the building, following the current state CAD plans and replicating existing elements as accurately as possible such as walls, columns, arches, railings, windows, doors, and carpentry.
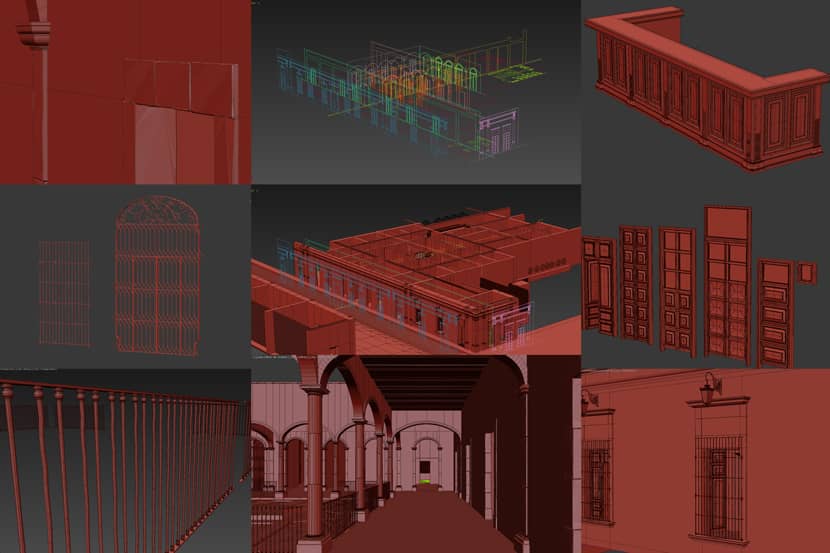
In general, in my workflow, I have chosen to work with materials at the same time as the modeling, as this allows you to make decisions for the optimization of the geometry, such as working with geometric or virtual displacements (VrayDisplacementMod), chamfer and corner damage (PolyDamage script used) or fake damage (Vray dirt).
I personally never collapse the geometry unless I'm going to export the model, as leaving the modifiers open allows me to create all possible variations, such as doors and windows.
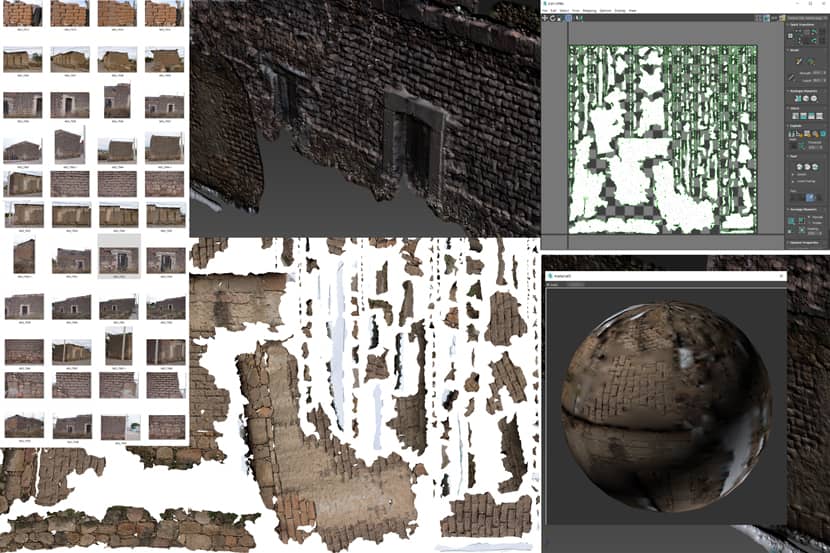
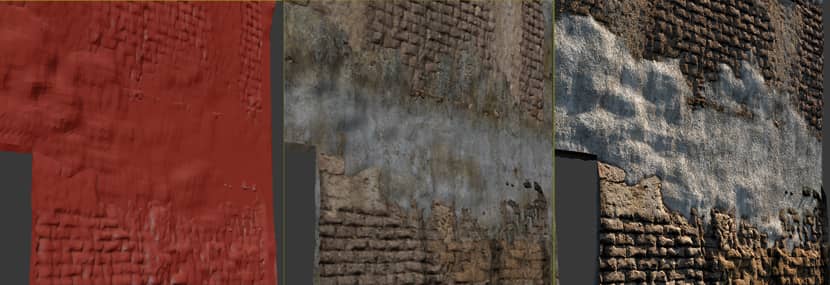
Although I use pre-made textures and materials from commercial bookstores like Textures.com or 3dsky.org as a 2D digital artist I love to create my own textures, whether they are altering photos in Photoshop, using masks, blending modes, or creating my own scan sets of photogrammetry materials like in the case of the adobe texture (traditional earthen wall) for which I used Agisoft-Photoscan (now Metashape). A short presentation below:
Interior Design & Assets.
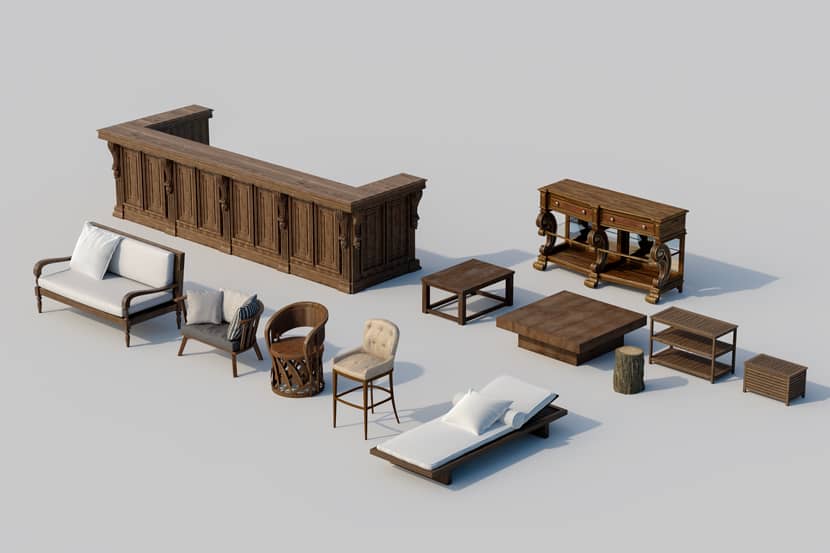
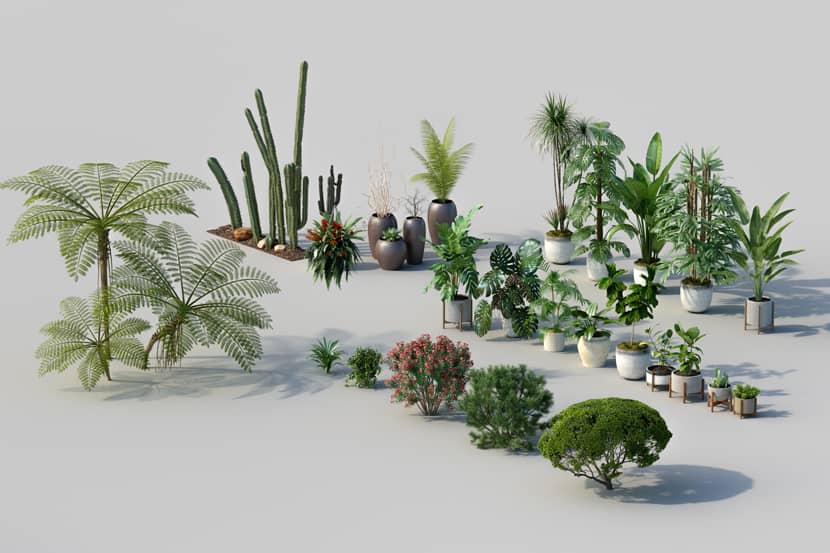
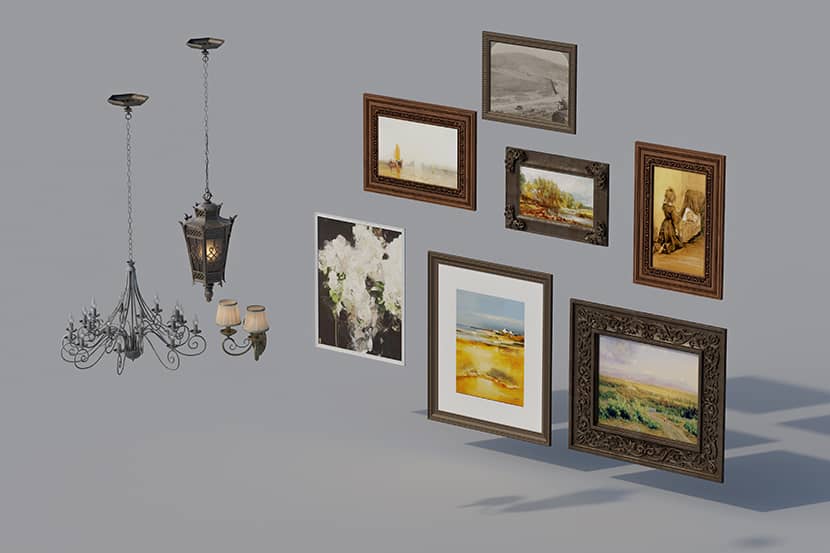
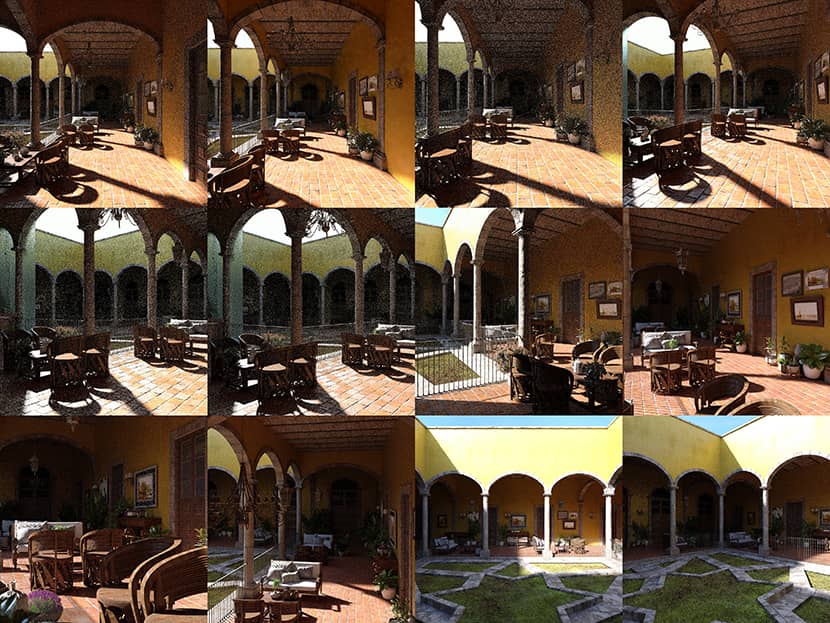
Once the geometry of the architecture is done, I work together with the client to find an interior design proposal. Mainly we seek to replicate the authentic essence of an old hacienda, adding modern comfort elements appropriate for the comfort of the users.
You can have a taste of this style below:
In this case, I made a compilation of assets from collections such as Archmodels, 3dsky, Turbosquid, and previously modeled objects and plants from my personal library.
Camera Set-up.
For the cameras I used VrayPhysicalCamera, leaving the default parameters and playing only with the ISO factor for the light and Focal length for the angle opening.
I also used open angles trying to cover as many elements of the scene as possible, although closed angles are effective for DOF and bokeh effects. As an architect, I prefer the image to be an interpretation where the elements and materials are clearly visible for their execution in the project. Interactive Render is a great tool to find quick views before fixing the position of the camera.
Lighting.
The treatment of natural light is fundamental in the composition of the image, “architecture is the learned game correct and magnificent of forms assembled in the light" Le Corbusier.
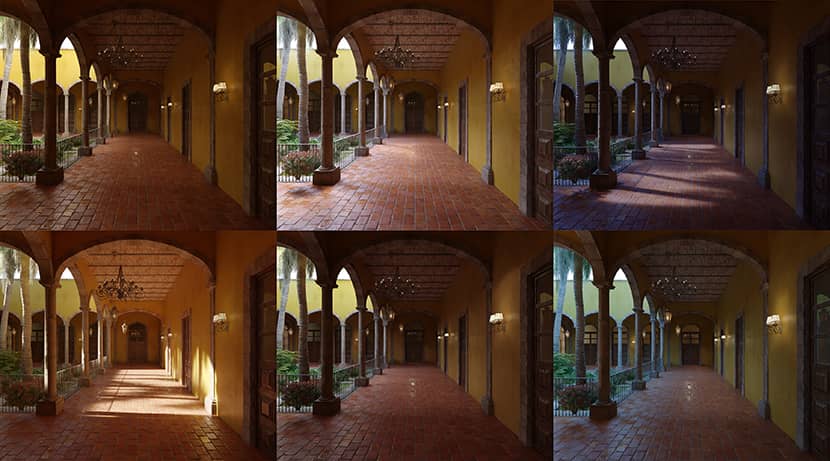
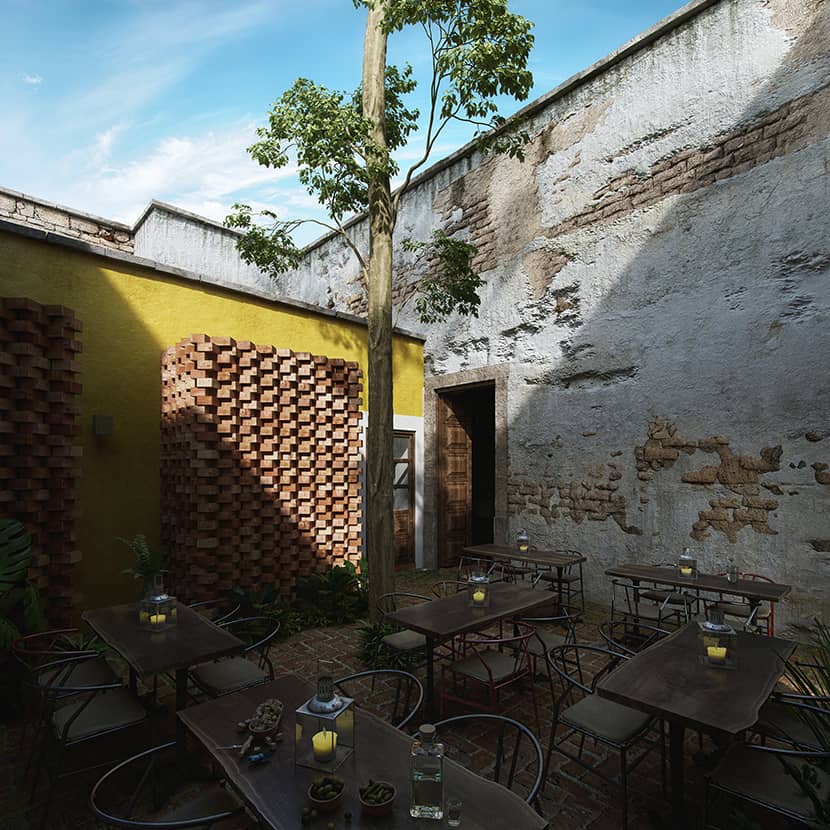
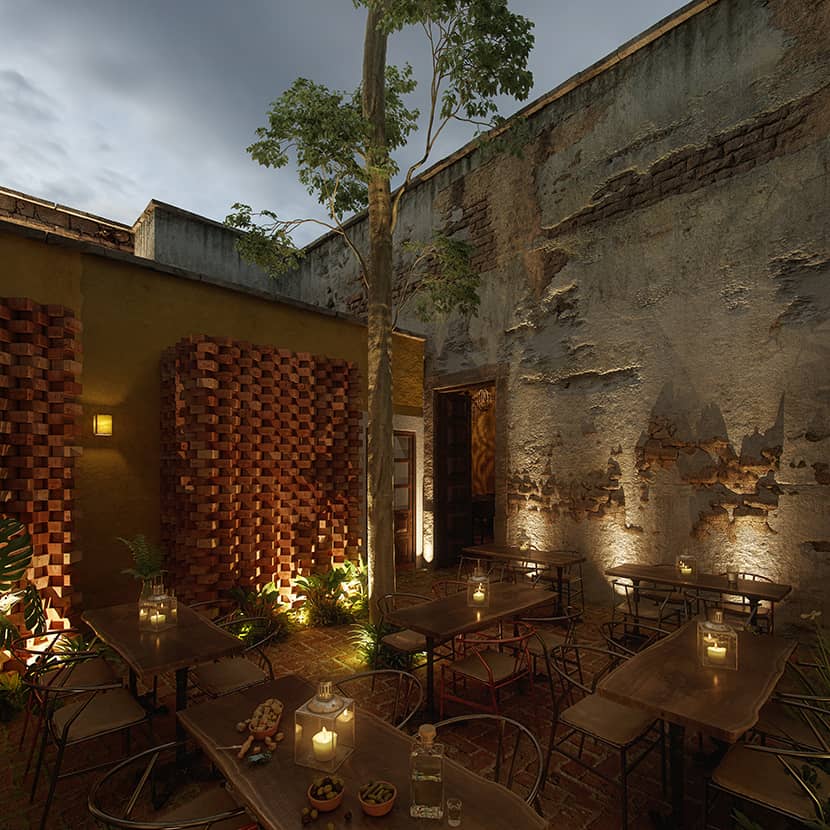
In each image, I did a different treatment of light, some benefit from direct light while others have cloudy daylight, others at noon, and others at sunset, I think of each image as a different mini-project.
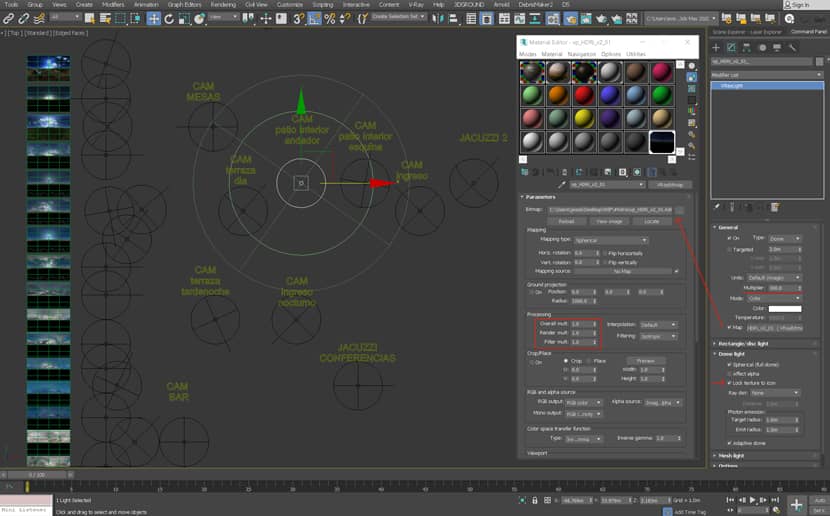
To do this, carry out a careful study of multiple lights until you achieve the one that will benefit the image, the spaces, and the atmosphere the most, an HDRI in V-Rray Dome with the "lock texture to the Icon" is enough.
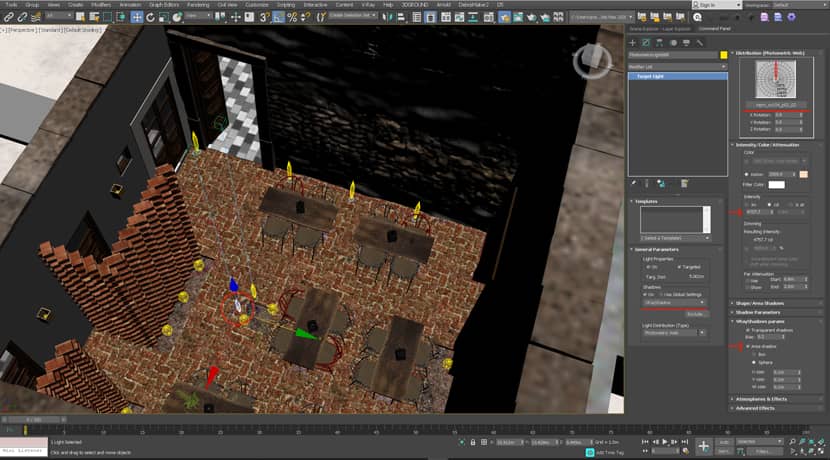
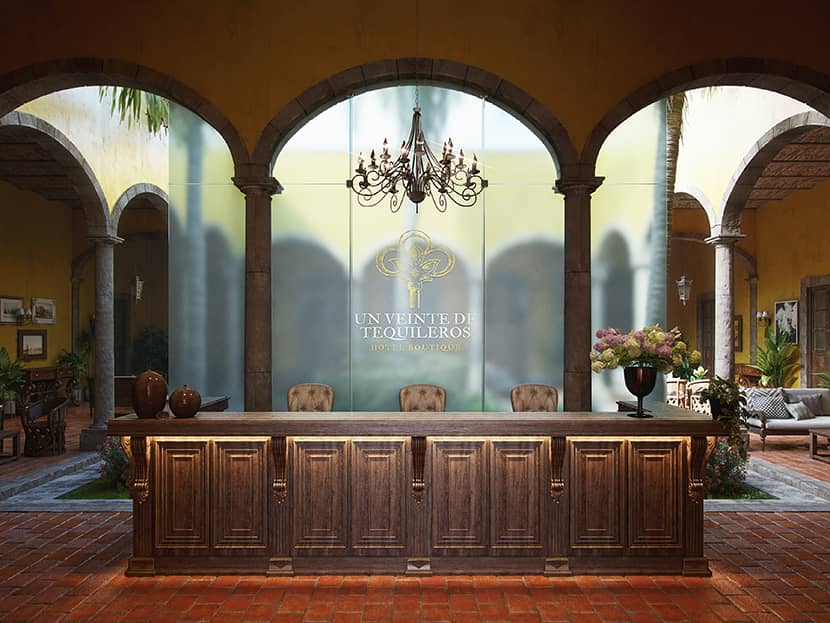
For artificial night light, I kept it simple and realistic, I didn't add “fake” lights just to make the scene brighter, I prefer my lighting proposal to be real, both in power, temperature, and IES profile, and then to do the contrast adjustment in post-production. If the render engine offers us a real simulation, let's take advantage of it.
Rendering & Post-Production.
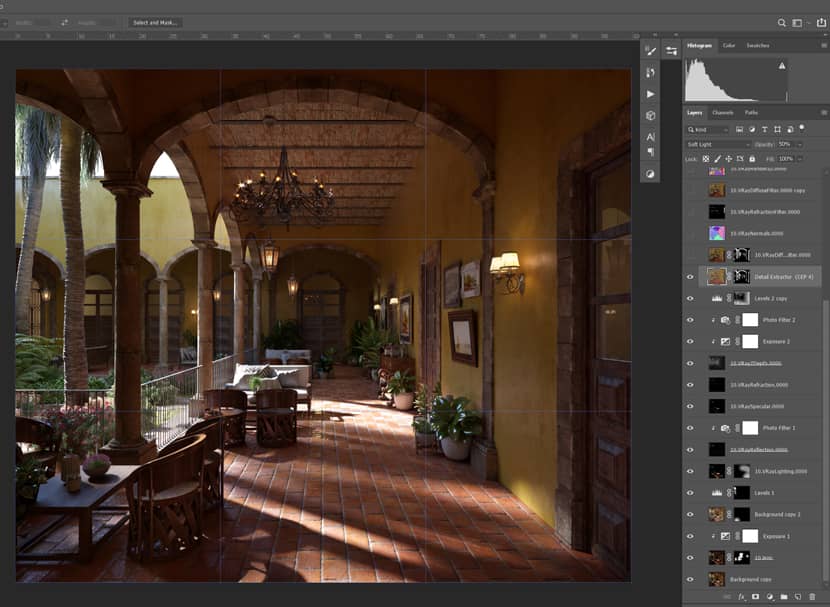
Even though I miss those times when I was doing a lot of post-production, transforming Raw images into awesome images, I consider today it is not so necessary because render engines are incredibly efficient and computer power has increased considerably. I only prefer to do general contrast adjustments and some selective ones focused on certain objects that I want to improve or correct.
Some of the must-have passes are RGB, Render ID, Reflection, Refraction, Specular, Lighting, Diffuse, Zdepth, and Normals.
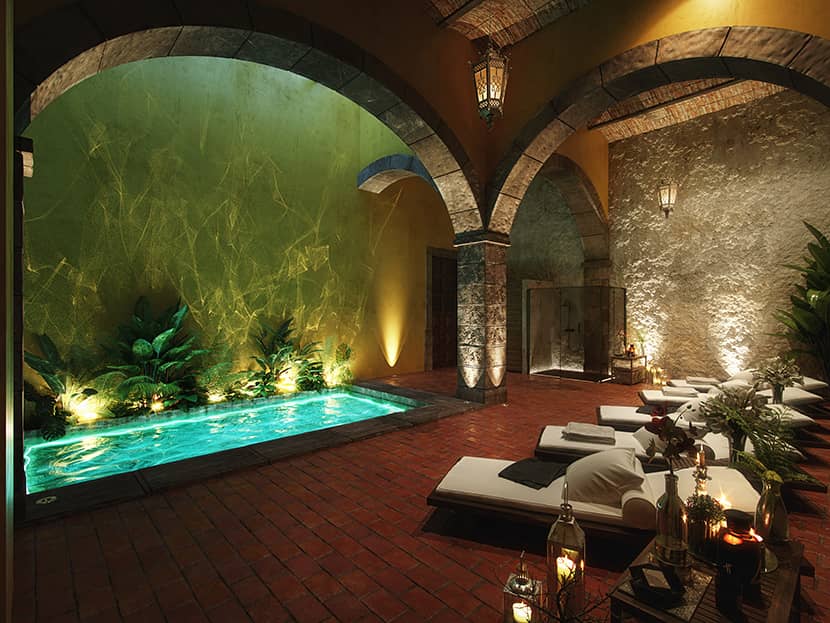
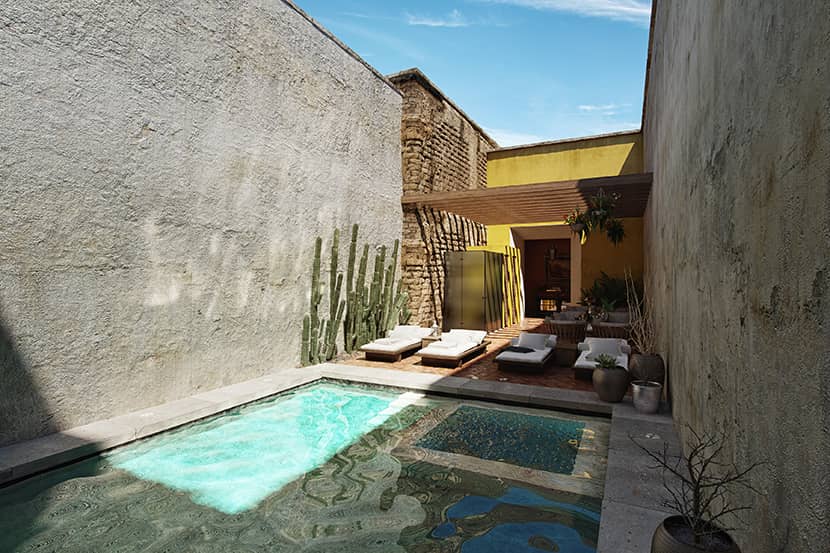
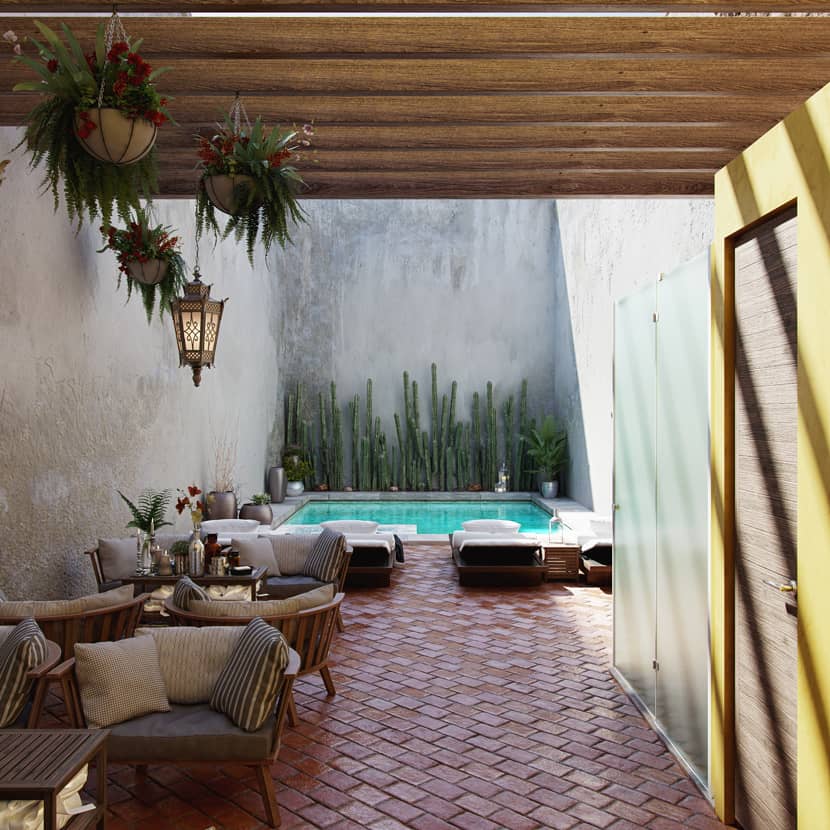
For the Jacuzzi area, it was necessary to generate the caustic effect. Since I did the project with an old V-Ray version, the caustics effect was not so optimized and I had to generate the Caustics pass separately and apply it as a layer screen in Photoshop.
Summary.
Thank you very much for taking the time to read my article and my work process. Although I cannot explain many things because the project was big and involved multiple challenges, I am totally open to answering any question or doubts related to this or another topic through my contact, I love helping while learning from everyone in the process.
I think the ArchViz community is an open and collaborative community where we all grow and support each other and that's great.
Kind regards,
Ever Sanchez.
Check more of Ever's work on these channels:
Want to share your work with our community too?
Contact us at 该邮件地址已受到反垃圾邮件插件保护。要显示它需要在浏览器中启用 JavaScript。 and tell us about your favorite project.

