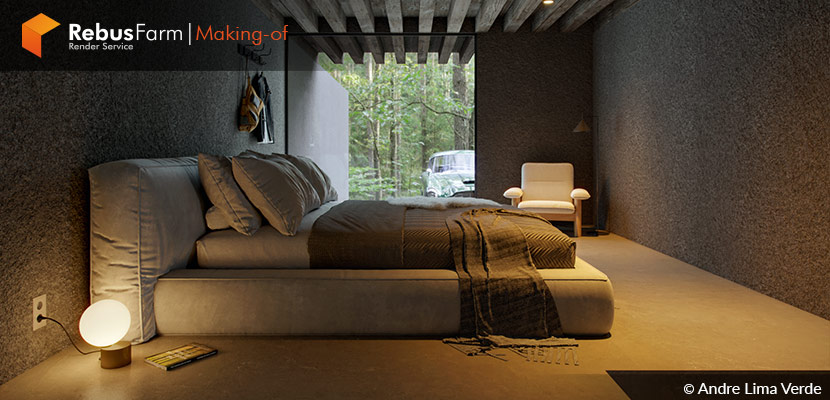
Sometimes, you don't need complicated things to create a beautiful image. "Less is more" and by following good framing, simple lighting with good contrast, and 4-5 fine materials you can achieve a great result. Andre Lima Verde, an experienced Brazilian 3D artist & architect, drives us to his simple workflow in order to create cool images for a contest. Enjoy!
About Me.
Hello, 3D community!
My name is Andre Lima Verde, and I am an architect and a passionate 3D artist for over 14 years. I live in Brazil and work as a freelance architectural visualizer, with experience in various personal and commercial projects. Throughout this time, I have always sought to improve my skills by studying and experimenting with new technologies.
About The Project.
This project was created to participate in the monthly challenge organized by Ander Alencar in the OF3D ACADEMY community. The chosen theme was a bedroom, where we had the freedom to conceptualize and develop the project in the best possible way. I had been wanting to create a forest-themed bedroom for a while, so this was the perfect opportunity to bring the idea to life.
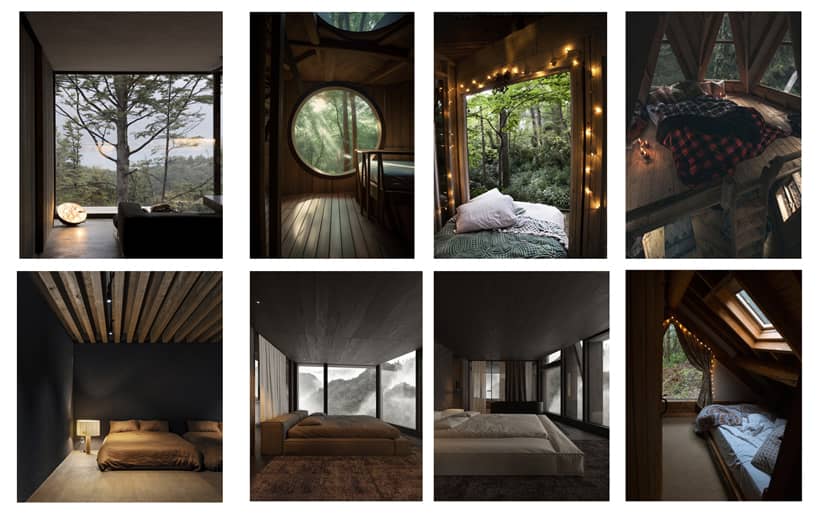
My initial concept was to design a photographer's retreat in the middle of the forest, where this artist could relax after a busy day of work. The character in this scenario appreciates vintage cars, practicality, minimalism, and comfort. With these elements in mind, I started defining the details that would exist in my scene.
Software Used.
I created the entire scene for the "Bedroom In The Forest" project using 3DS Max and Corona Renderer.
Modeling.
With the concept and inspiration well defined, I began the modeling process. The architectural design of the space was relatively simple. It consisted of a corridor that led to the bedroom, and further, to the area where the bed and resting area were located. One important aspect, I wanted to emphasize, was the porch outside where the car would be positioned. From the bedroom, one could have a view of the forest and the car.
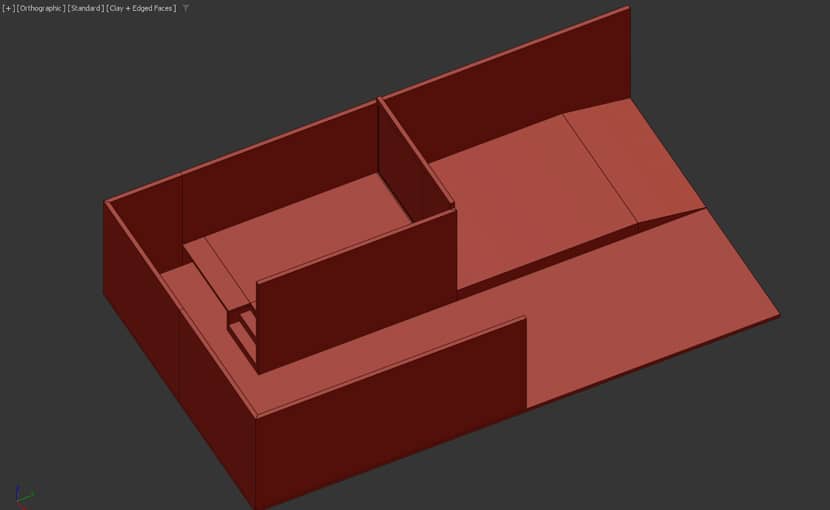
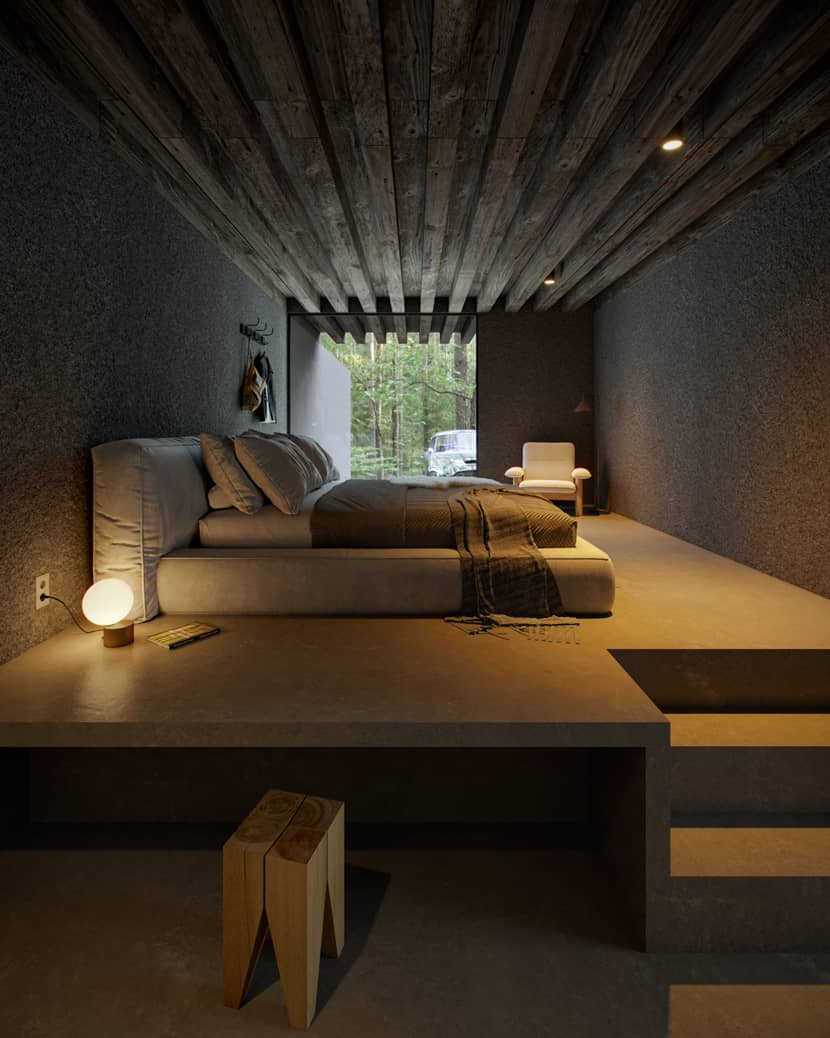
Since the bed area was elevated, I intentionally created a support area on the lower level, resembling a table with a stool (this detail is well depicted in the final image).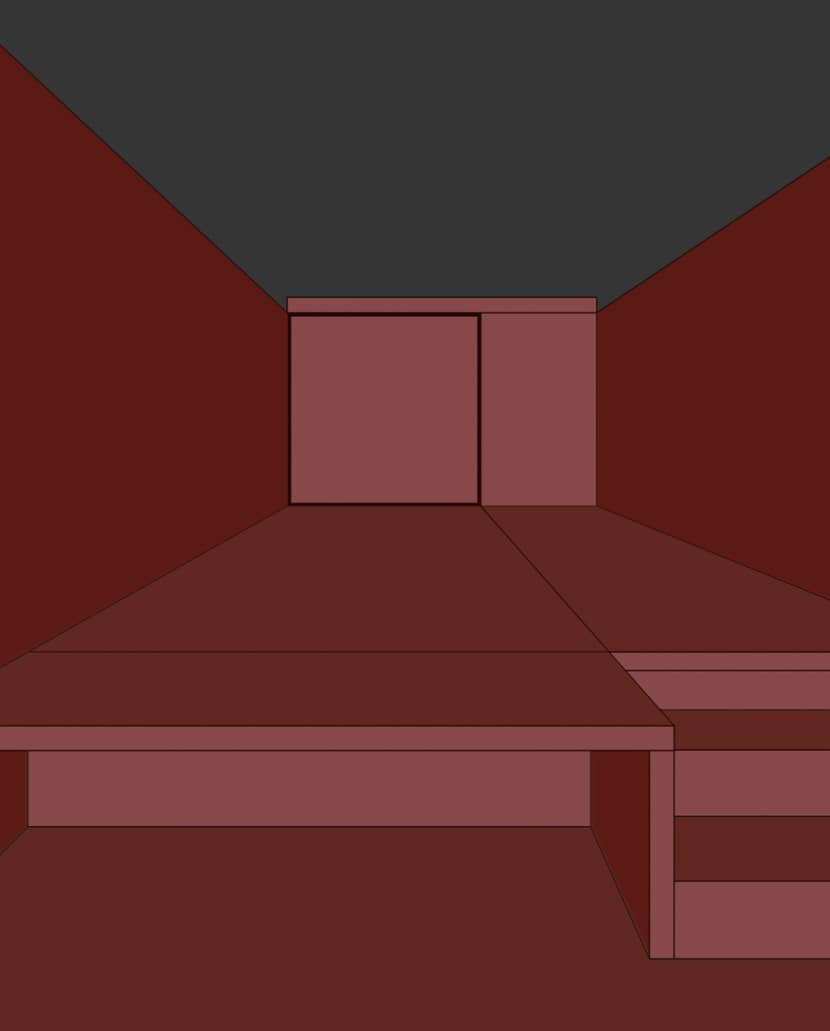
To complete the architectural design, I took inspiration from the references and modeled the wooden ceiling, which would be better highlighted with the right material choice.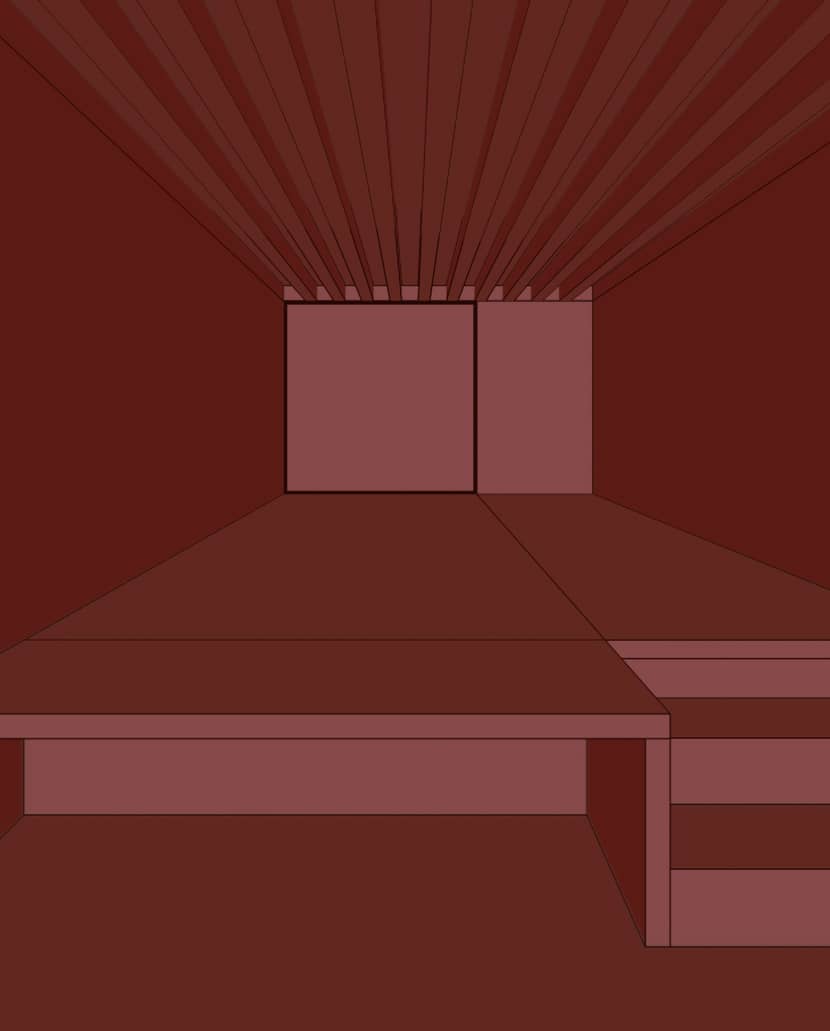
Basic Lighting.
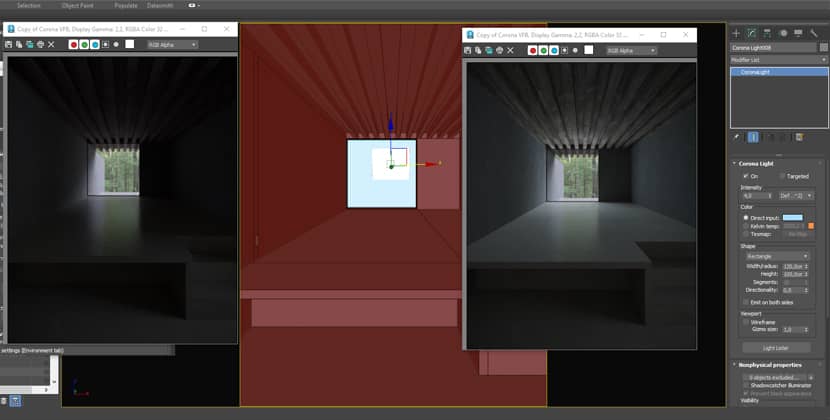
I usually use HDRI for my scenes, and this time was no different. I chose an HDRI option that closely matched the references and could also be used as a background. My choice was the HDRI "Sunset Forest" found on the "Poly Haven" website. I downloaded the 8k *.hdr version because, in addition to providing lighting, it had a reasonable resolution for use as a background.
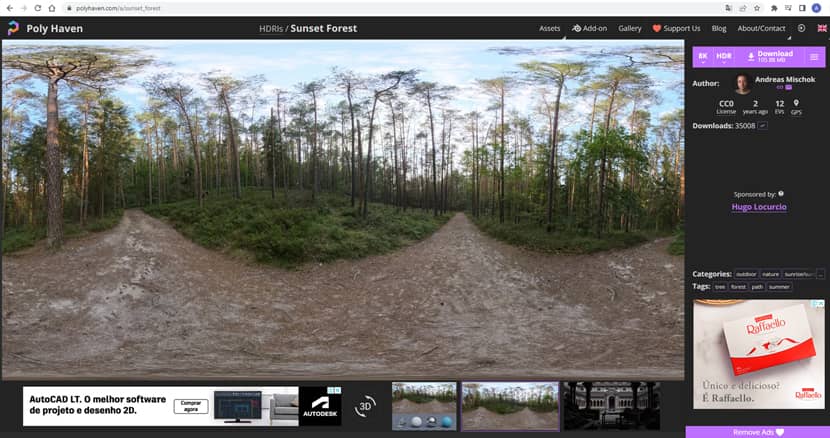
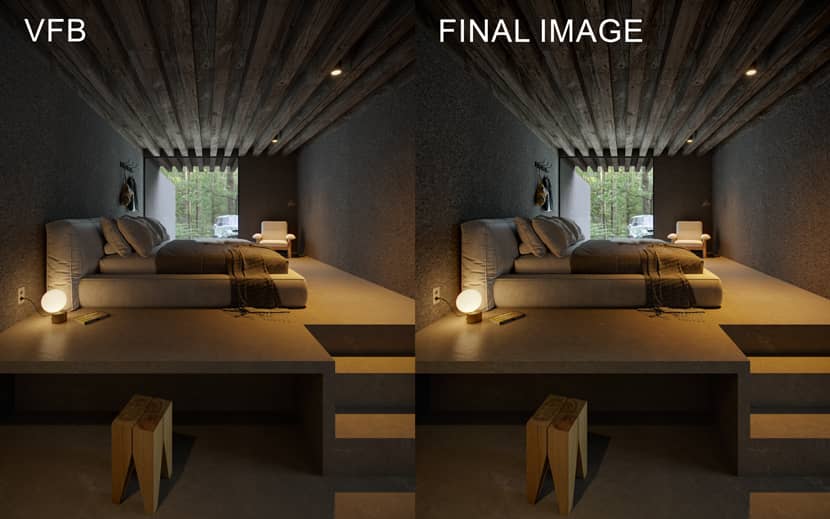
Once downloaded, I set up a base material for the scene and conducted initial light tests. (I prefer adding the HDRI through the color-correct node as it gives me more freedom to adjust HDRI details.) I adjusted the output intensity to a value of "2" and rotated it until I found the right angle to allow the best light entrance. Then, I adjusted the VFB (Virtual Frame Buffer) until I was satisfied with the values.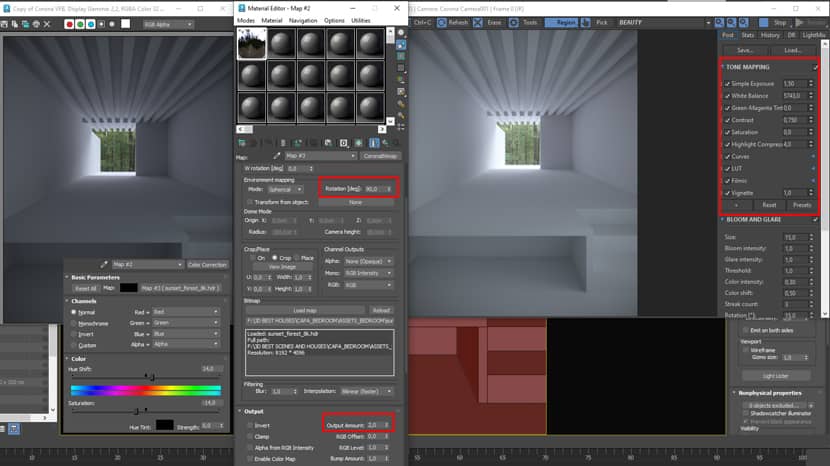
Materials.
After adjusting the base lighting of the scene, the next step was to choose the materials and textures. For this, I used the native Corona library and also the Quixel Megascans library, as both automatically apply physically correct materials to the selected objects. The scene was structurally divided into four parts: polished concrete floor, wooden ceiling, walls with a rough black texture, and the main glass and black metal frame.
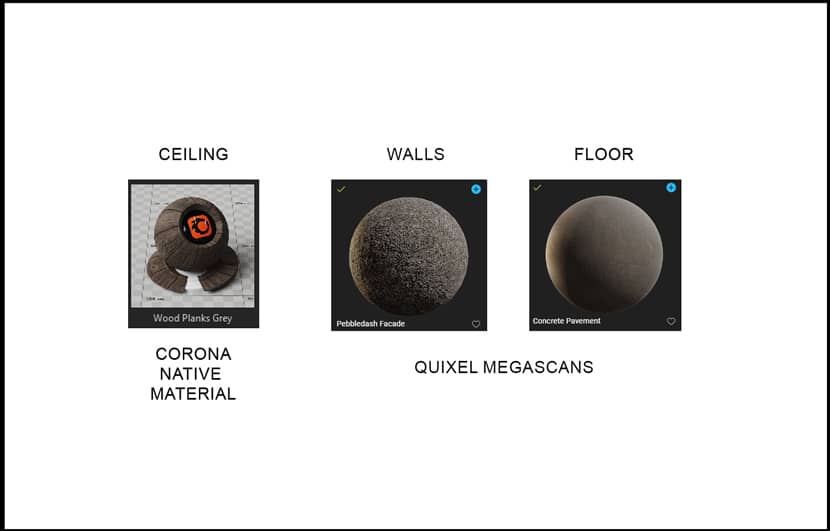
For these three main materials, I made some adjustments using the color-correct node on the base color and diffuse channels to achieve the right tone for the environment. I also had to adjust the reflection scale in the glossiness parameters.
Lighting Adjustments.
Since the environment naturally appeared dark, I added two Corona lights to enhance the natural lighting. The larger one had an intensity of 2, and the smaller one had an intensity of 4.
Artificial Lighting.
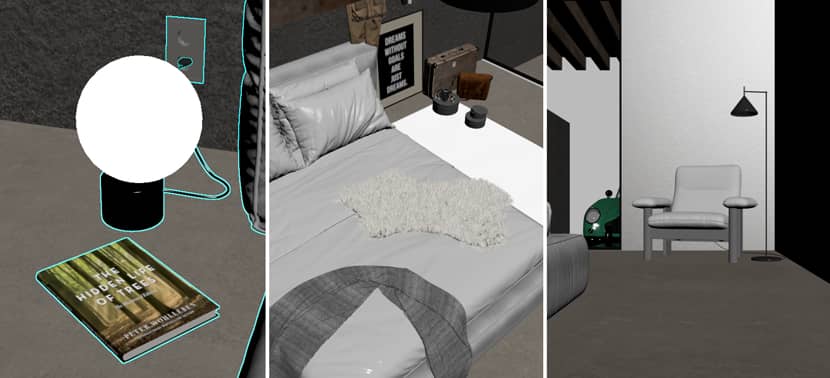
To finish, I added artificial lighting. To model the fixtures, I used a cylinder. I assigned a black metal material to the body and a corona light material to the light source. I positioned each one strategically in the scene. I added a disk-shaped corona light to each fixture, with the "ies" parameter enabled. I tested the intensity values until I was satisfied with the result.
LUT.
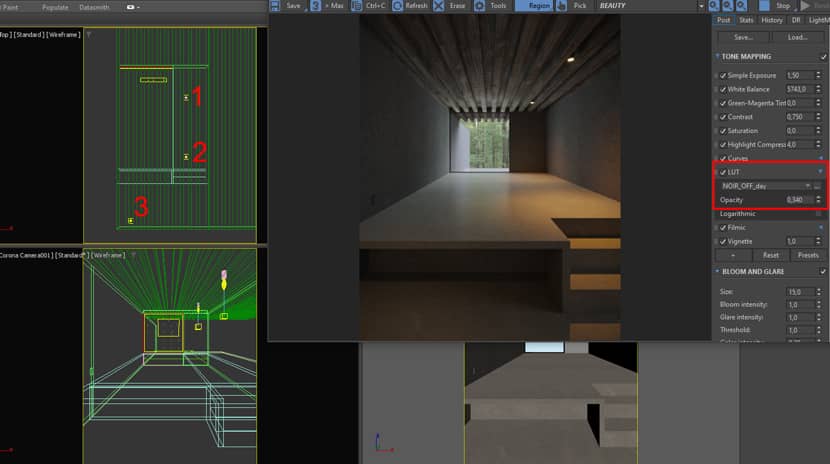
After finalizing the lighting, I tested different LUTs in the scene until I found the ideal one. In my opinion, the "NOIR Off Day" LUT best matched what I wanted.
3D Asssets.
Several of the models used in the scene were from the 3DSKY online library. I also modeled and detailed some elements that I considered important, such as the book next to the bed, the wall socket, and the cables of the fixtures, which were created simply with splines. The motivational quote frame was intentional, even though it doesn't appear in the main image. The quote, by actor Denzel Washington, reflects one of the beliefs that have been part of my life: 'DREAMS WITHOUT GOALS ARE JUST DREAMS.' Finally, I want to highlight the car, which is a specific model of the Aston Martin DB5 and, in my opinion, greatly enriched the scene.
Render Settings & Elements.
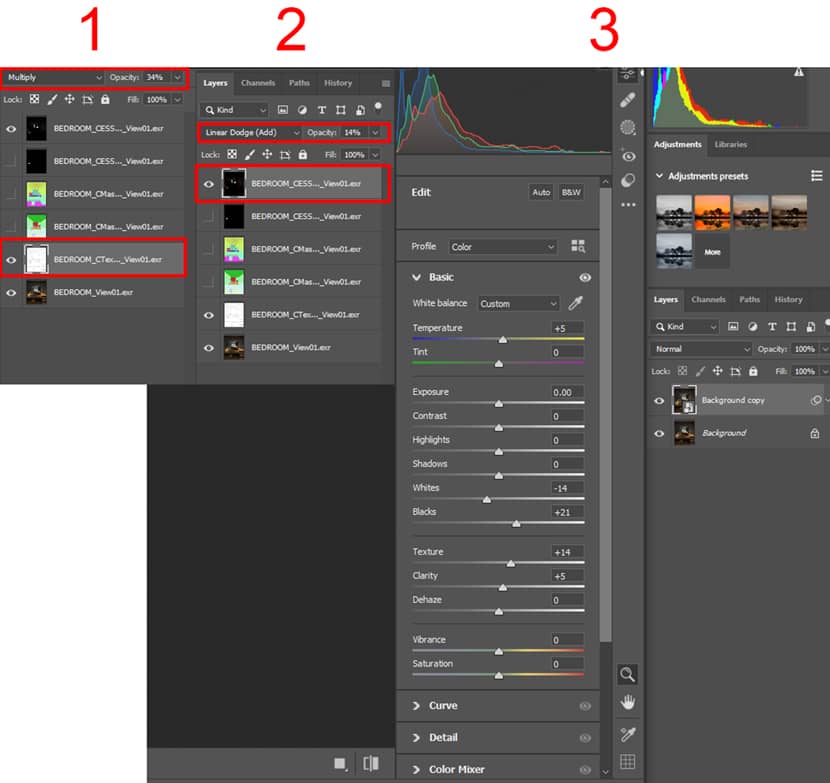
The parameters used were relatively simple. I usually set the noise level limit to 5% for almost all of my scenes, and I used the default Corona high-quality setting with a value of 0.65. I typically use the same render elements. I want to highlight the CTextmap element, for which I set a value of 6.0 in this case. Later, I use this layer to add a bit more ambient occlusion to the overall look.
The final comparison between the original VFB image and the final image.
That's all and thanks a lot for taking the time and read my article. You can follow through the links below!
Kind regards,
Andre Lima Verde.
Check more of Andre 's work on these channels:
|
Want to share your work with our community too?
Contact us at 该邮件地址已受到反垃圾邮件插件保护。要显示它需要在浏览器中启用 JavaScript。 and tell us about your favorite project.

