If you want to take a deeper look at the Pharaonic civilization and learn how to create historical and storytelling visualization images, check out this making-of article created by Eslam Mohamed, an Egyptian 3D artist. Enjoy!
About Me.
Hello everyone!
My name is Eslam Mohamed and I'm a passionate 3d artist from Egypt. I've been working in the 3D ArchViz industry for over two years. As a full-time professional, I've been completely dedicated to producing high-quality architectural visualizations throughout my career. I believe that there are no limits to the imagination. What has not been done before will be done eventually and what seems impossible now, will be seen in the future. I want to be a visionary but above all revolutionary.
About The Project.
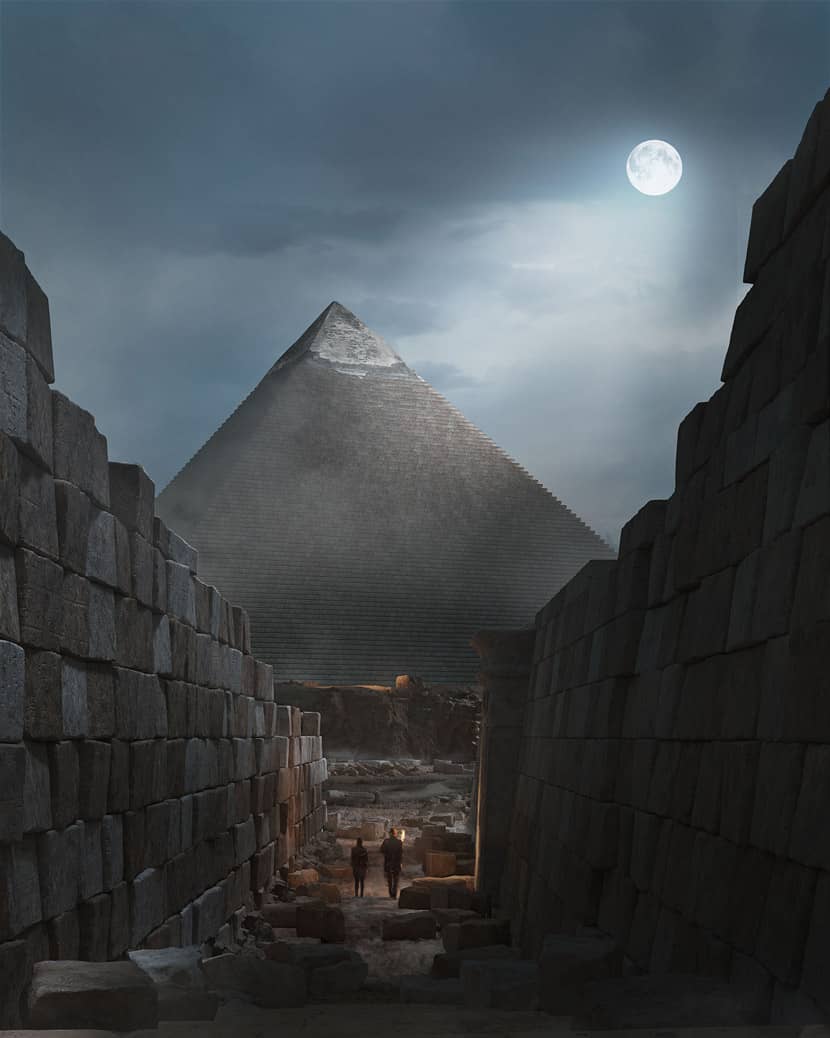
I've always been fascinated with Pharaonic civilization, I used to watch vlogs and videos about the Pharaonic era and the incredible architectural feats that were achieved during that time. It's amazing to think that people around the world were initially skeptical about how such grand structures were built, and it's fascinating to learn about the methods and techniques that were used to construct them.
So, I decided to create an image that showcases one of the greatest buildings in the world (THE PYRAMID). This structure has stood the test of time, enduring countless climatic changes since the dawn of civilization while retaining its unique identity. Despite its longevity, there are still many secrets surrounding how it was constructed using such enduring techniques and materials.
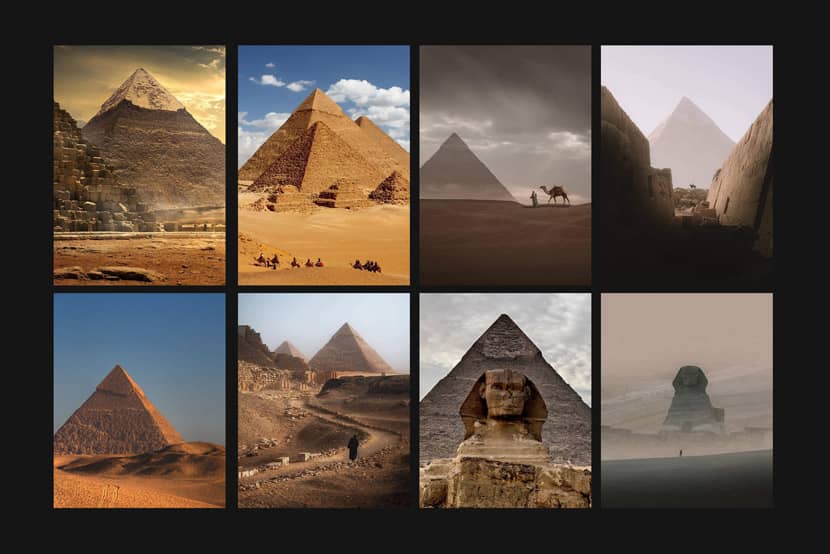
Prior to commencing work on the "MYSTERY OF PYRAMIDS" image, I collected a series of reference images to help guide my creative process. My goal was to create a natural and authentic environment, so I searched various sources on Google to find suitable references.
For the mood of my image, I would like to mention and credit Brick Visuals Studio.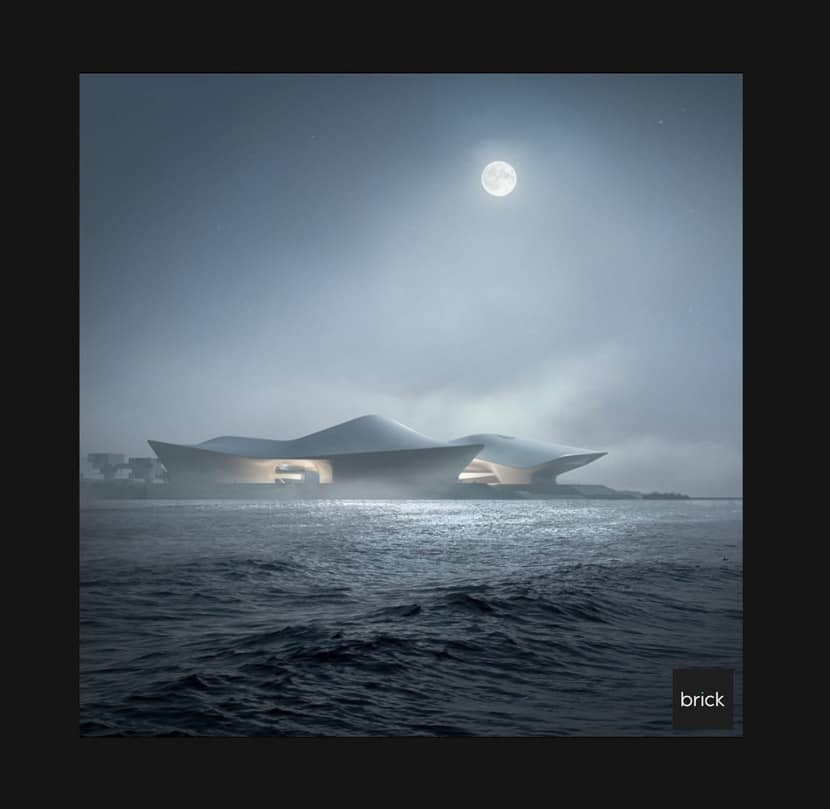
Software Used.
I created the entire scene for the "MYSTERY OF PYRAMIDS" image using 3DS Max and Corona Renderer, which I selected for its exceptional quality and reliability. You can view the entire scene below, presented in a medium gray override material.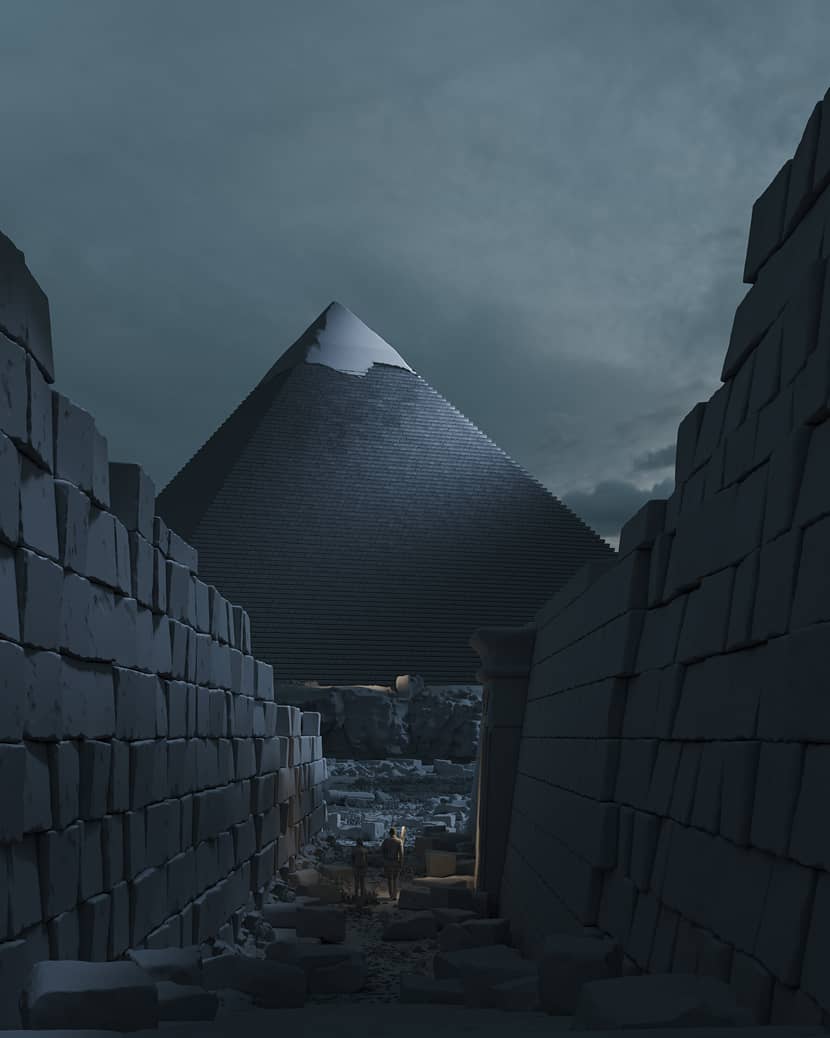
Modeling.
The pyramid is the focal point of this scene. So I started modeling it from scratch by simulating the genuine proportion of the pyramid and the proportion of its rocks.
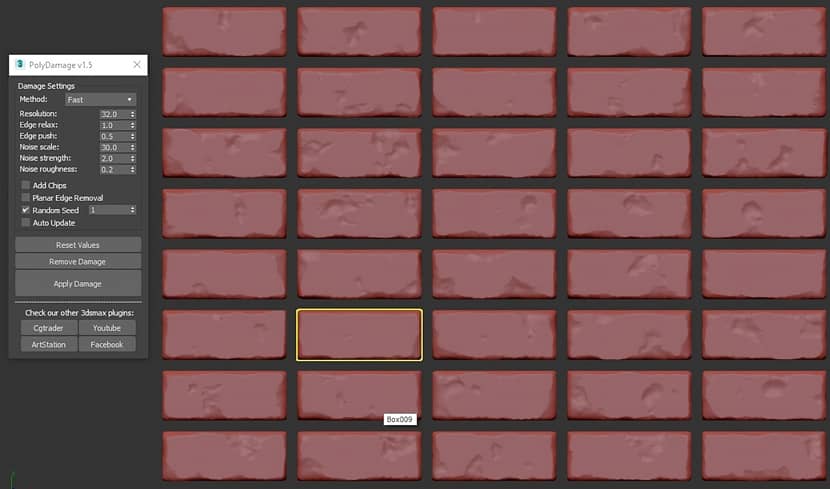
I began applying damage to 40 different rocks using the poly-damage plugin. You can find how to use this plugin below:
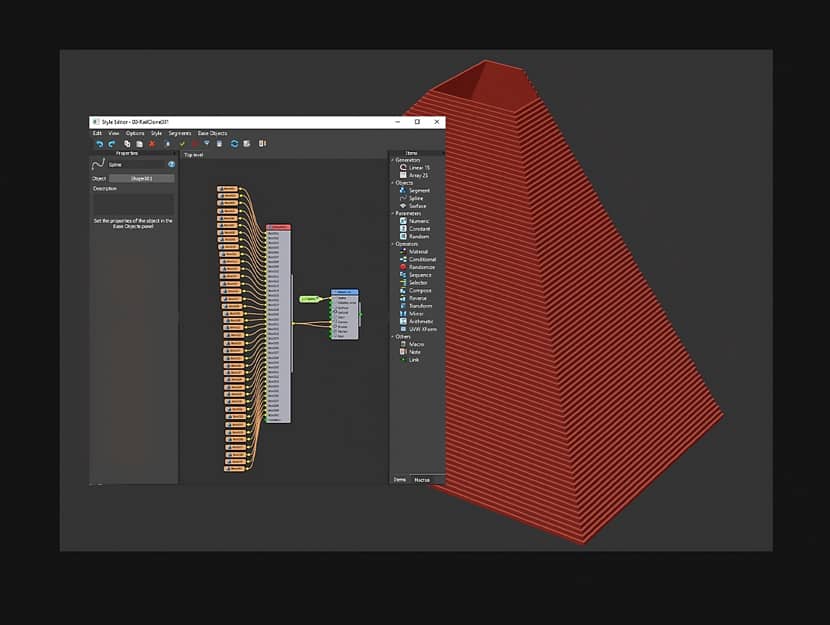
Using the Railclone tool, I began to scatter rocks in simple lines, changing the transform number to provide a slight variation.
{yt}Vc_CWRsxq1s{/yt}
Then I started building side walls step by step until I had the appropriate shape for framing my image.
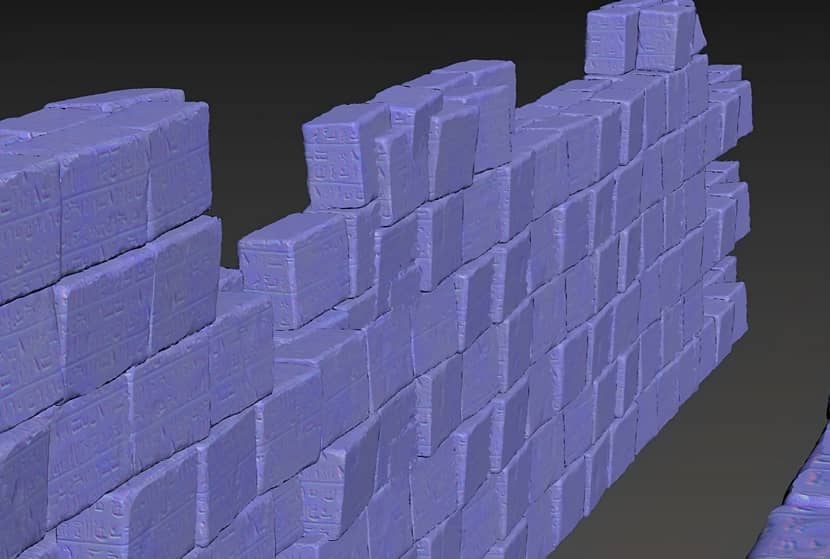
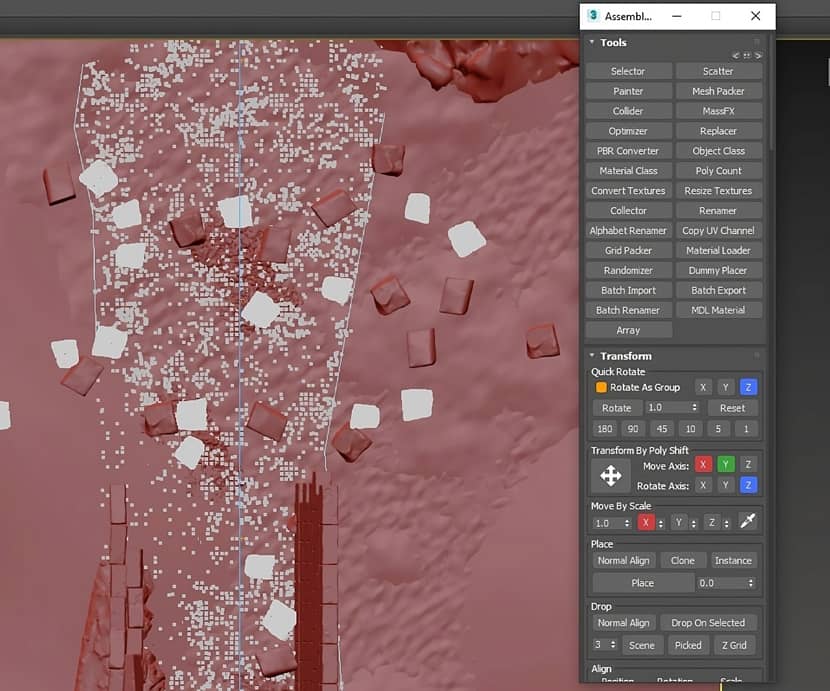
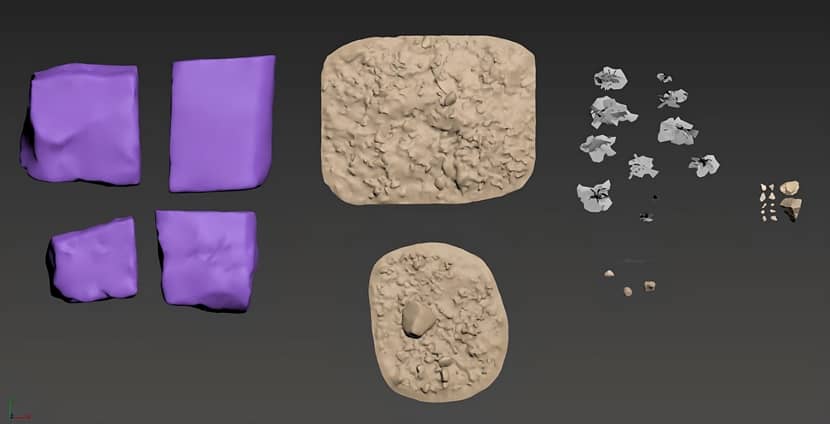
After that, I began scattering assets on the ground by Assembly Tool. You can find how to use this plugin below:
Assets.
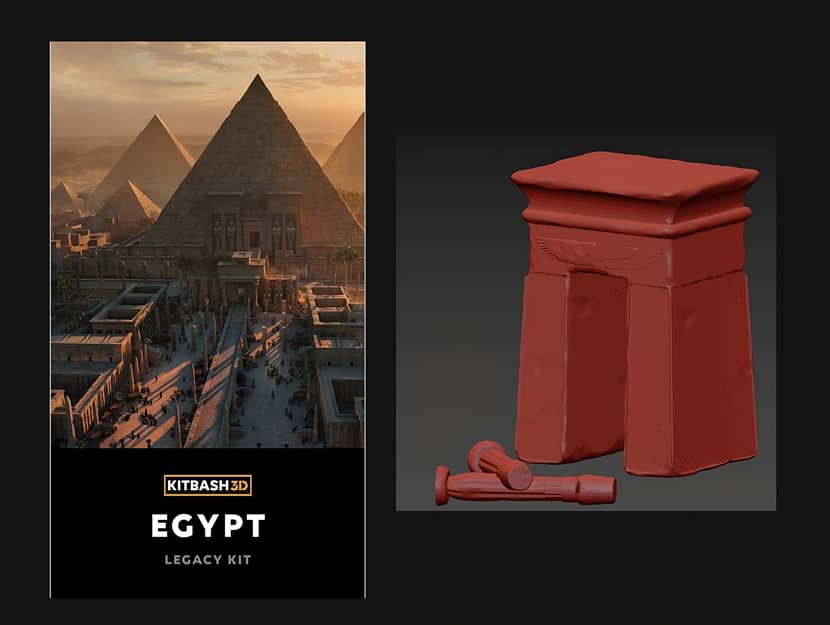
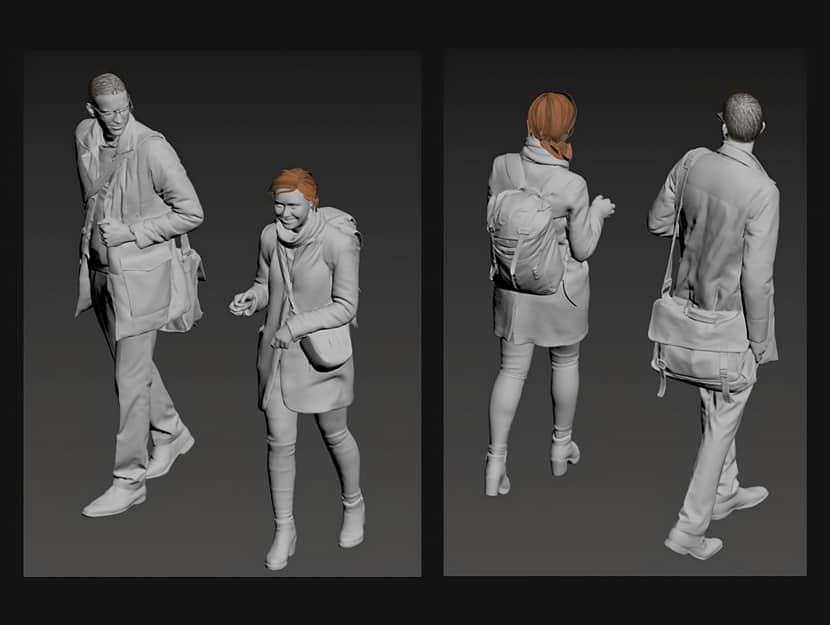
To create the "MYSTERY OF PYRAMIDS" image, I utilized a variety of assets from Quixel Megascans, Kitbash3D, and Renderpeople. One of the most intriguing aspects of this scene is that It didn't require a significant number of assets. Instead, I began by scattering smaller objects throughout the scene and then strategically placed larger assets in specific areas to add depth and create an engaging visual journey for the viewer.
Lighting.
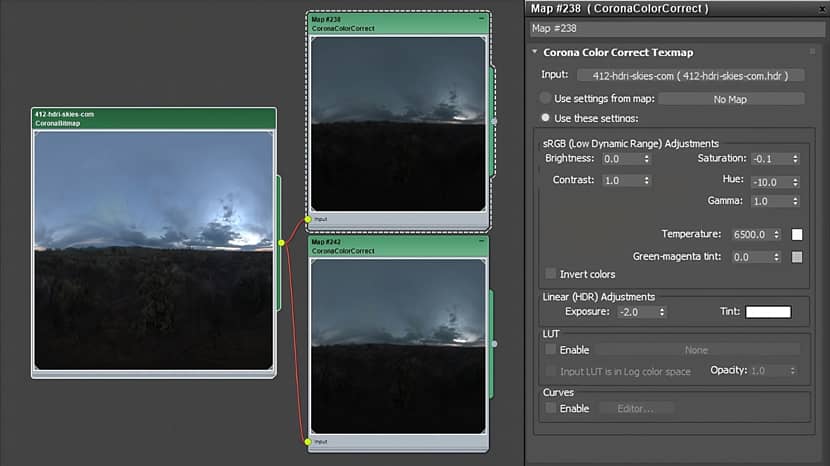
For the primary light source in this project, I chose to use an HDRI setup as I believe it provides the most realistic and natural illumination. Specifically, I utilized Hdri-Skies to achieve the desired effect. In my search for the perfect HDRI, I was looking to create a dramatic scene that would evoke a specific feeling. After careful consideration, I selected this particular HDRI as it matched my vision for the project.
After setting up the primary HDRI light source, I proceeded to add additional sub-lights to accentuate and highlight specific areas within the shot. This allowed me to achieve a more nuanced and dynamic lighting effect, drawing attention to particular features of the scene.
Materials.
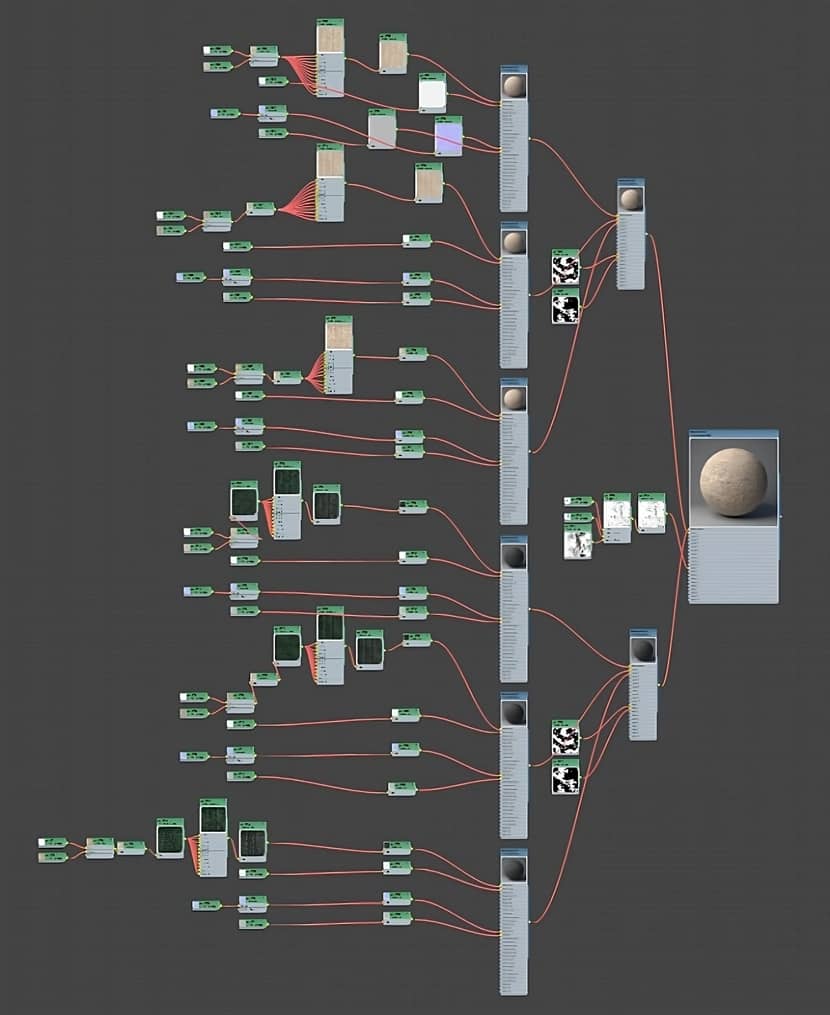
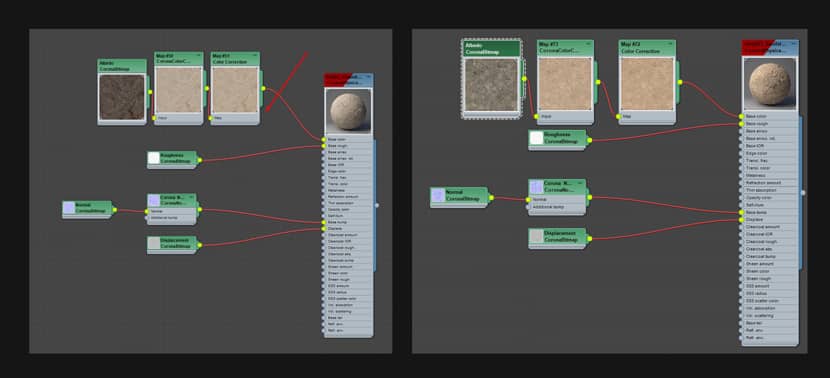
For this project, I primarily relied on Quixel Megascans materials, so I won't delve into too much detail about them as I didn't create any new ones. However, to achieve a more intricate material, I combined several materials using CoronaLayeredMtl and a black and white map, or re-colored parts of them to achieve the desired tone, Below are some examples of the materials I used:
Composition.
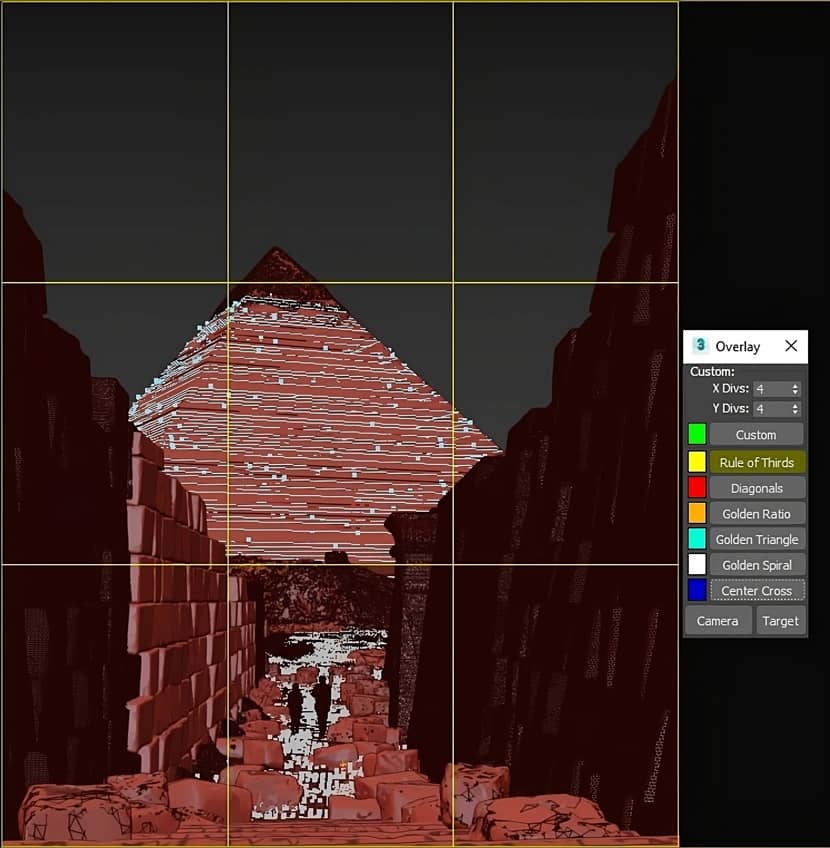
Right from the outset, I knew that I wanted to render an image with portrait proportions that would accentuate the pyramid’s ratio and create a sense of depth in my composition. To assist me in this process, I utilized a useful script called “ImageCompHelper” which facilitates image composition within 3DS Max by providing guidelines on the active viewport. This script offers various patterns, including the rule of thirds, golden ratio, golden triangle, golden spiral, and more. For this project, I opted for the rule of thirds pattern.
Post-Production.
For post-production work on still images, I predominantly rely on Photoshop. In this project, I didn’t employ any particularly elaborate techniques; rather, I focused on regular color corrections, enhancing reflections, adding chromatic aberration, grain, and vignetting to the image. Additionally, I used Photoshop to change the background, add the moon, and enhance various special effects in the scene.
The only part that required matte painting was the head of the pyramid, as I wanted to give It a more realistic appearance. To achieve this effect, I searched for an appropriate photograph and utilized it in this section of the scene.
That's all and thanks a lot for taking the time and read my article. You can follow through the links below!
Kind regards,
Eslam Mohamed.
Check more of Eslam's work on these channels:
|
|
Want to share your work with our community too?
Contact us at 该邮件地址已受到反垃圾邮件插件保护。要显示它需要在浏览器中启用 JavaScript。 and tell us about your favorite project.

